Under Card Details → Surface Finish, choose metallic reflections, film gloss and patterns, and UV coatings. While the Foil menu controls the flow of light and fine surface textures, this menu controls the appearance of metal, film, and coating materials.
Open SSR Card Maker · Getting started
Select a comparison image to enlarge it. On mobile, swipe horizontally within a table if it is wider than the screen.
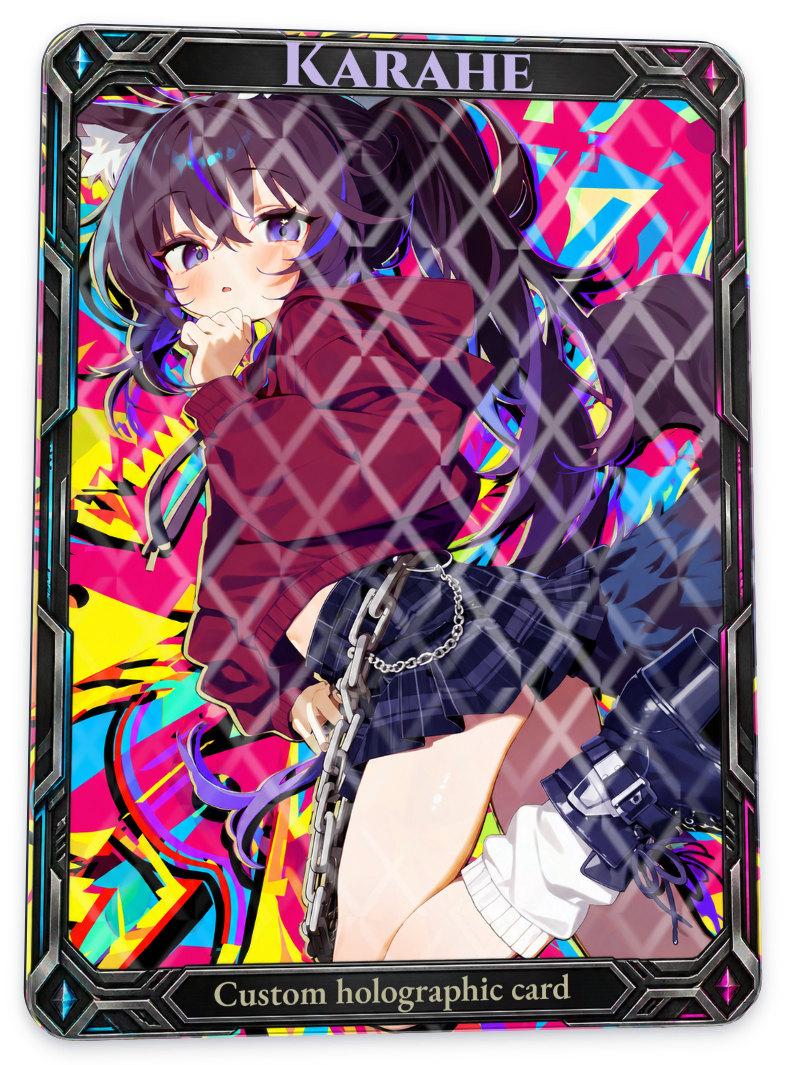
In these tables, Before means the card before the finish being compared was applied. The card already contains the uploaded artwork, frame, and text. The examples use the same character and background, custom frame, Karahe title, and bottom caption. Card stock, white underprint, special ink, emboss/deboss, and the Foil menu’s reflections and textures were disabled. Separate hologram materials for the frame and text were also disabled.
Unless stated otherwise, single-finish examples use 100% strength, all four application areas selected, Daylight, and the same Recommended angle. Strength was increased to make differences visible; adjust it to suit your own artwork. Enlarged comparisons crop the same area on both sides, with no color, brightness, or contrast correction.
How the three groups work together
- Hologram Materials: chooses a material’s reflective character, such as gold, silver, colored, rainbow, or pearlescent.
- Film Finish: changes the surface appearance with gloss or matte finishes, or adds lines, grids, and light patterns.
- UV Coating: adds gloss and texture across the surface or in a specific pattern. Here, UV is the name of the coating category; its effects are visible in Daylight too.
Select one option within each group. Gloss and Matte films cannot be selected together, but options from different groups, such as Matte film and Spot UV, can be combined. To disable one, select None or use that option’s Remove button.
Hologram Materials
The left side of every table below has no surface finish. Each material is compared on its own, without film or UV coating.
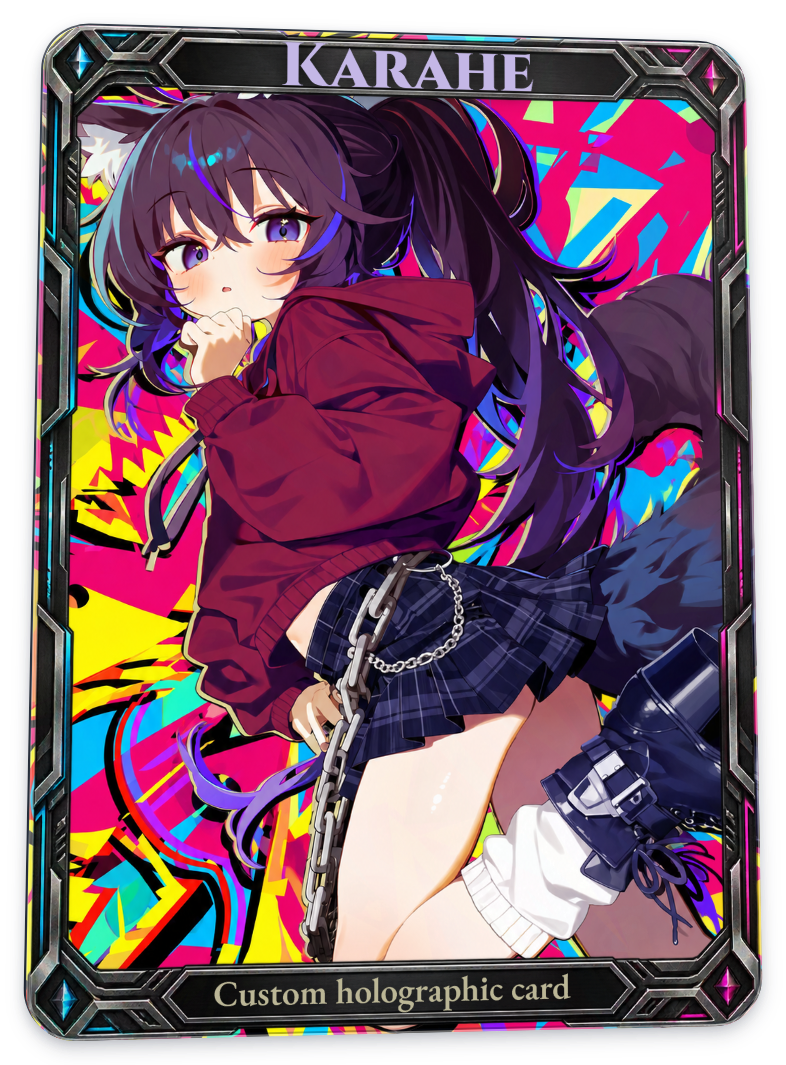
Hot foil gold
| Before | After |
|---|---|
 |
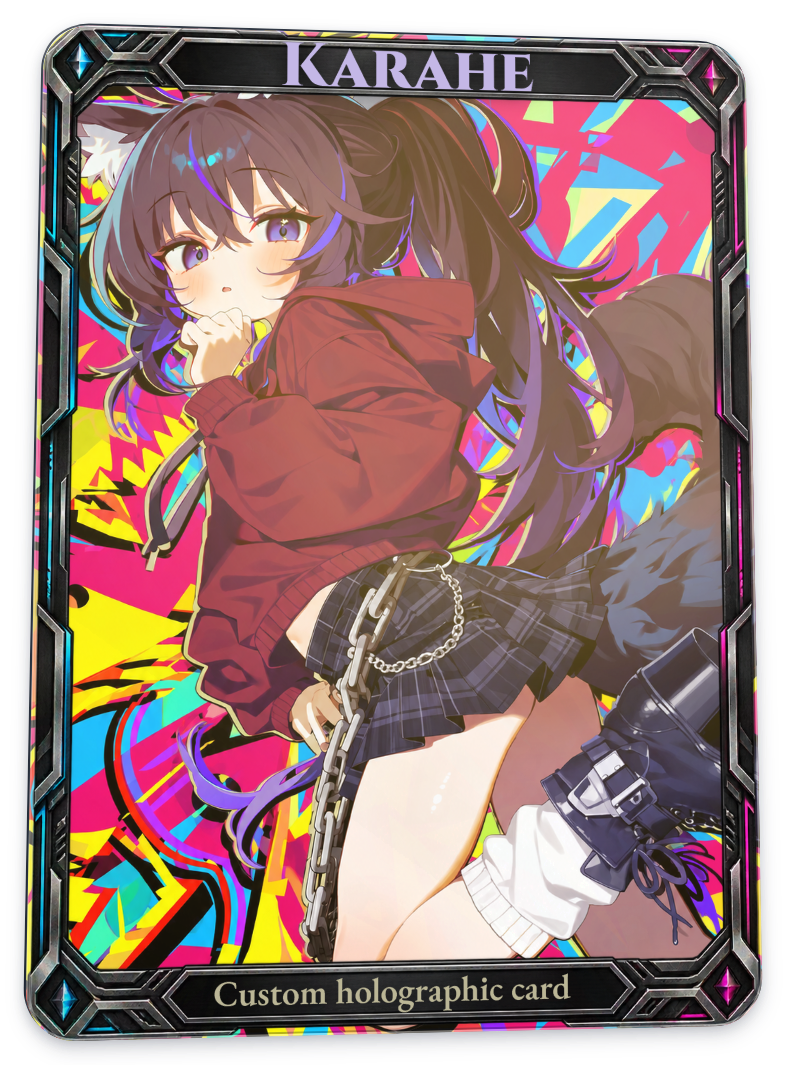 |
Adds warm golden reflections to illuminated surfaces. In this example, dark hair and clothing brighten toward brown and gold.
Hot foil silver
| Before | After |
|---|---|
|
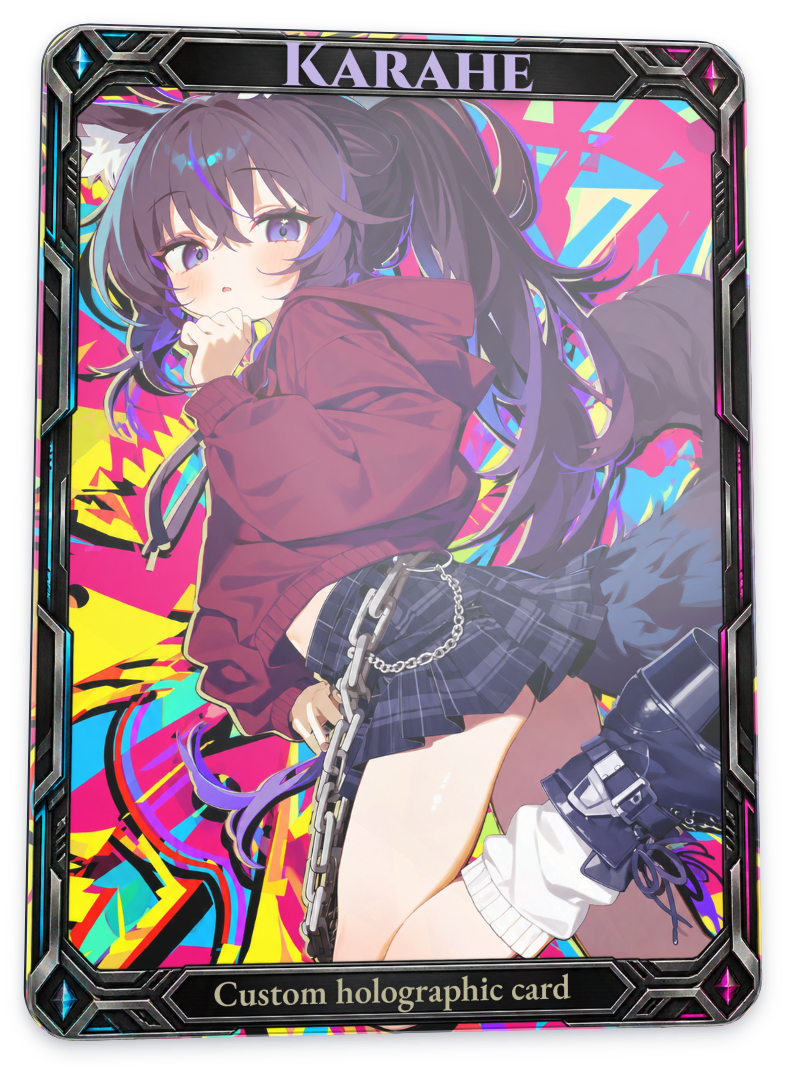 |
Adds silver-toned metallic reflections. Compare it with Gold when you want a more neutral, cooler shine.
Hot foil color
| Before | After |
|---|---|
|
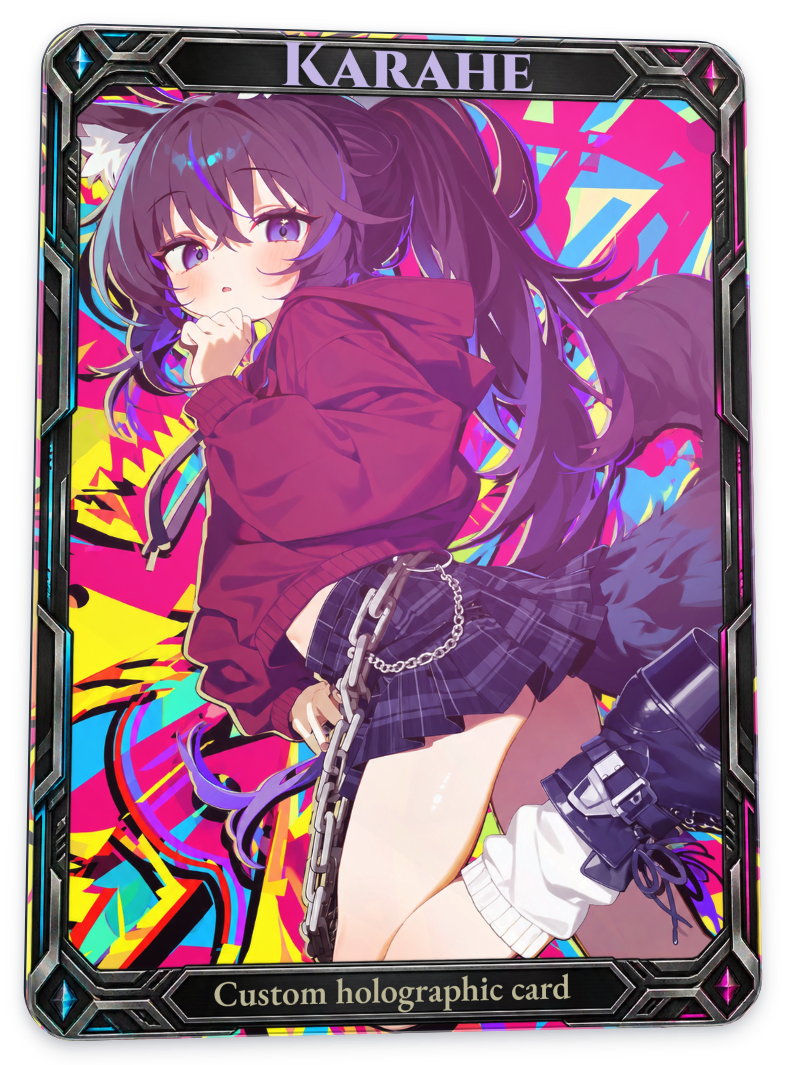 |
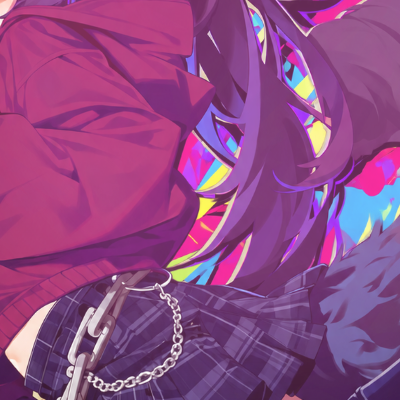
Lets you choose the metallic reflection color. The example above uses the manually selected pink #d855b4.
| Before · pink | After · cyan |
|---|---|
 |
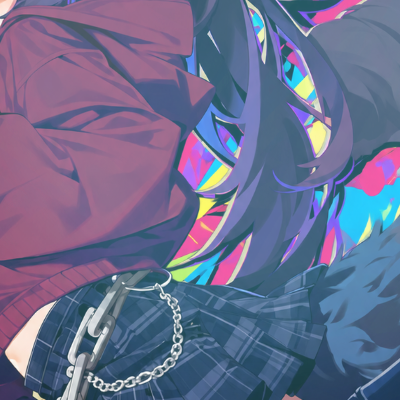 |
On the right, only Colored foil color changes to #4bbfd8. The color blends with the artwork, so the card’s final color will not exactly match the selected swatch.
Hot foil holographic
| Before | After |
|---|---|
|
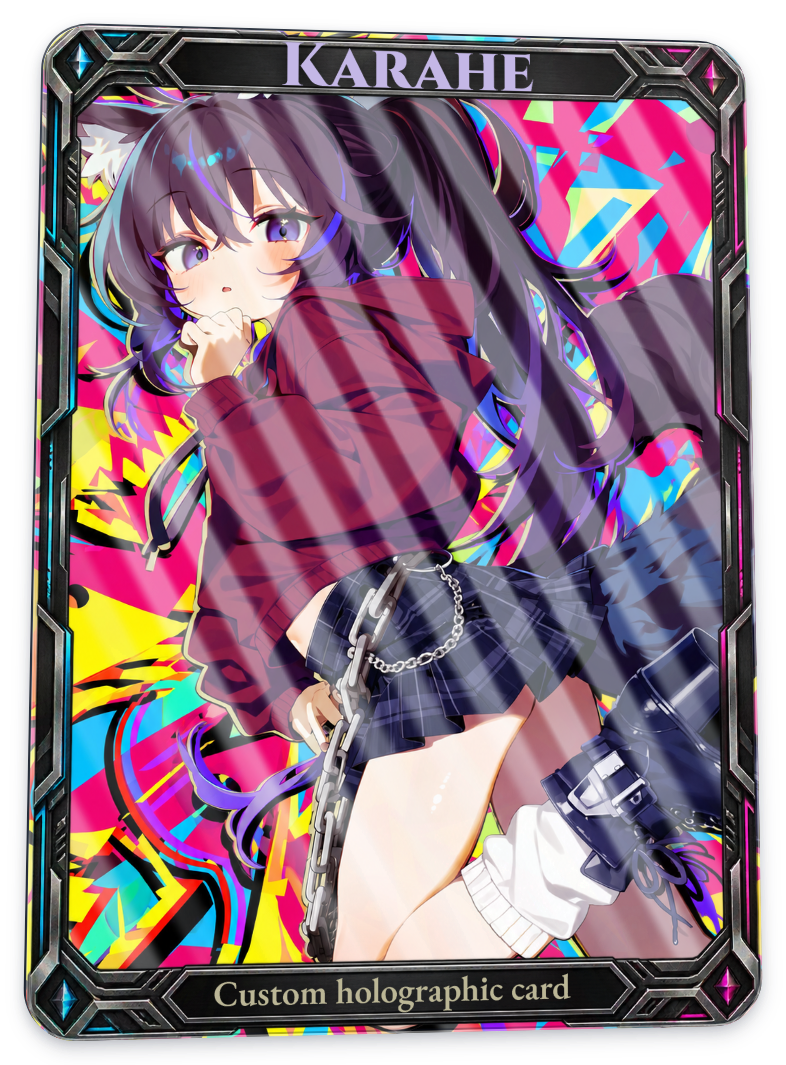 |
A metallic material with rainbow-like properties. With the Foil menu’s separate reflections disabled in this example, bright diagonal bands stand out more than color shifts.
Hot foil pearlescent
| Before | After |
|---|---|
|
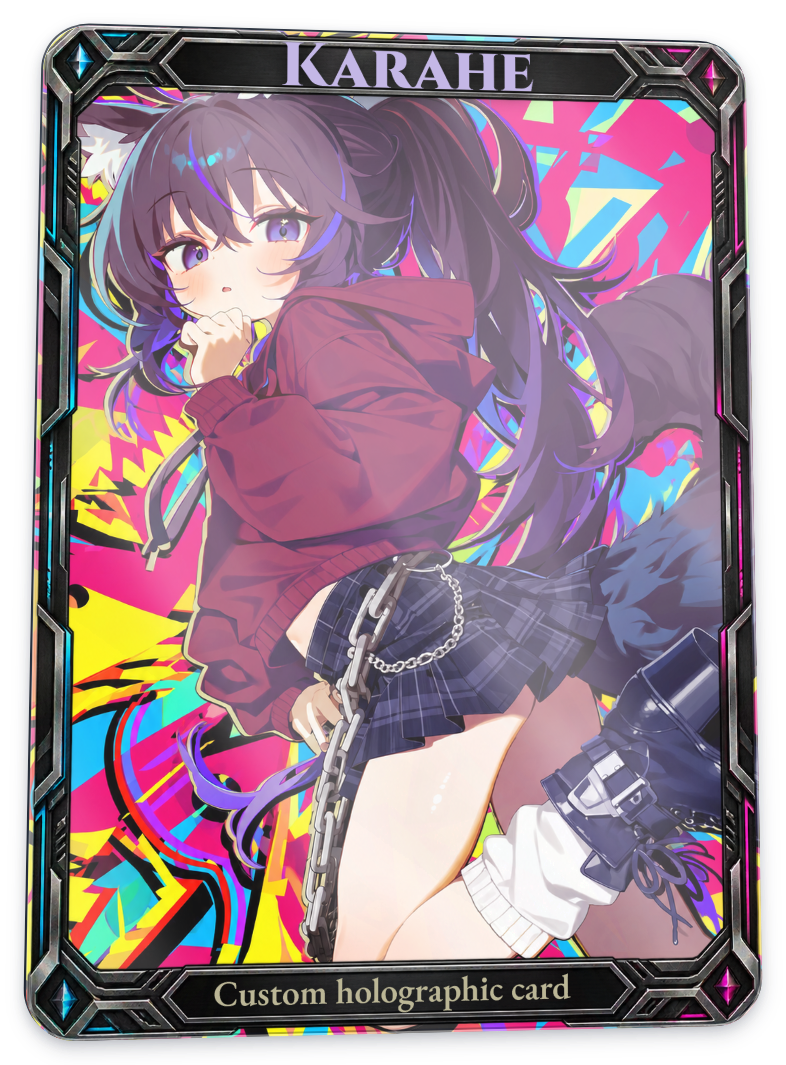 |
Combines a bright pearly color with subtle shifts in hue. It differs from strong primary-color rainbow reflections. Compare how the darker areas of the artwork brighten here.
Hot foil clear
| Before | After |
|---|---|
|
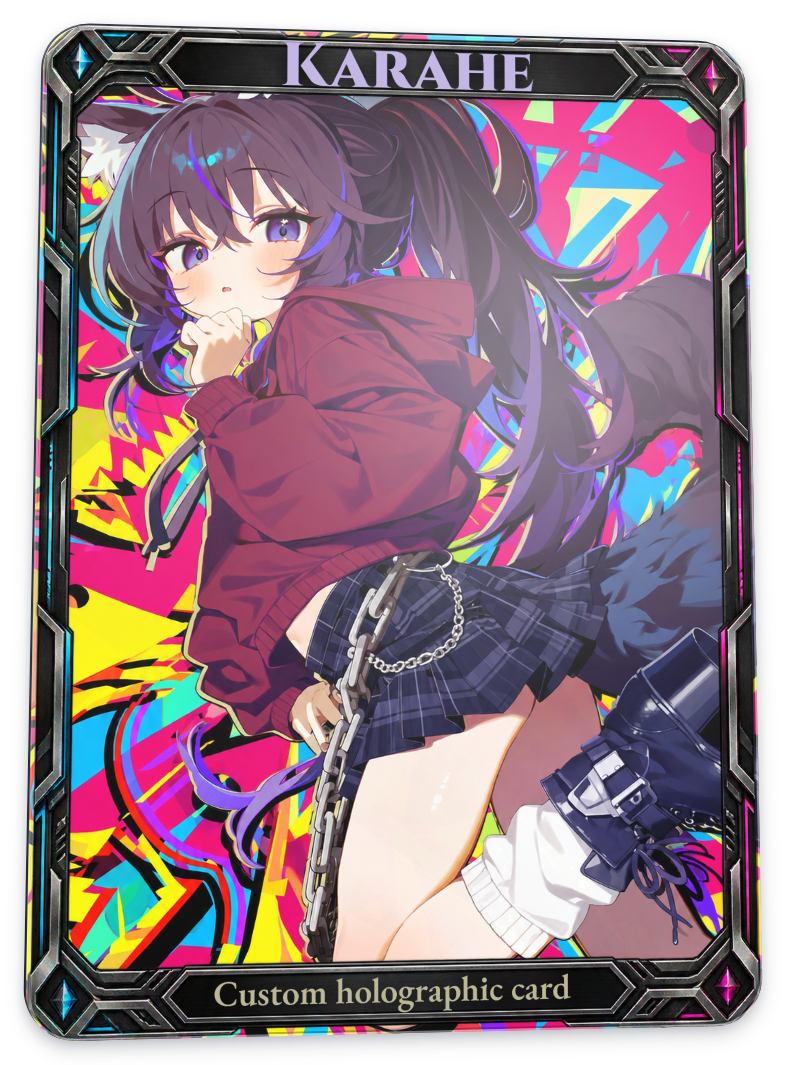 |
Adds a transparent gloss to illuminated areas while retaining the original artwork.
Cold foil metallic
| Before | After |
|---|---|
|
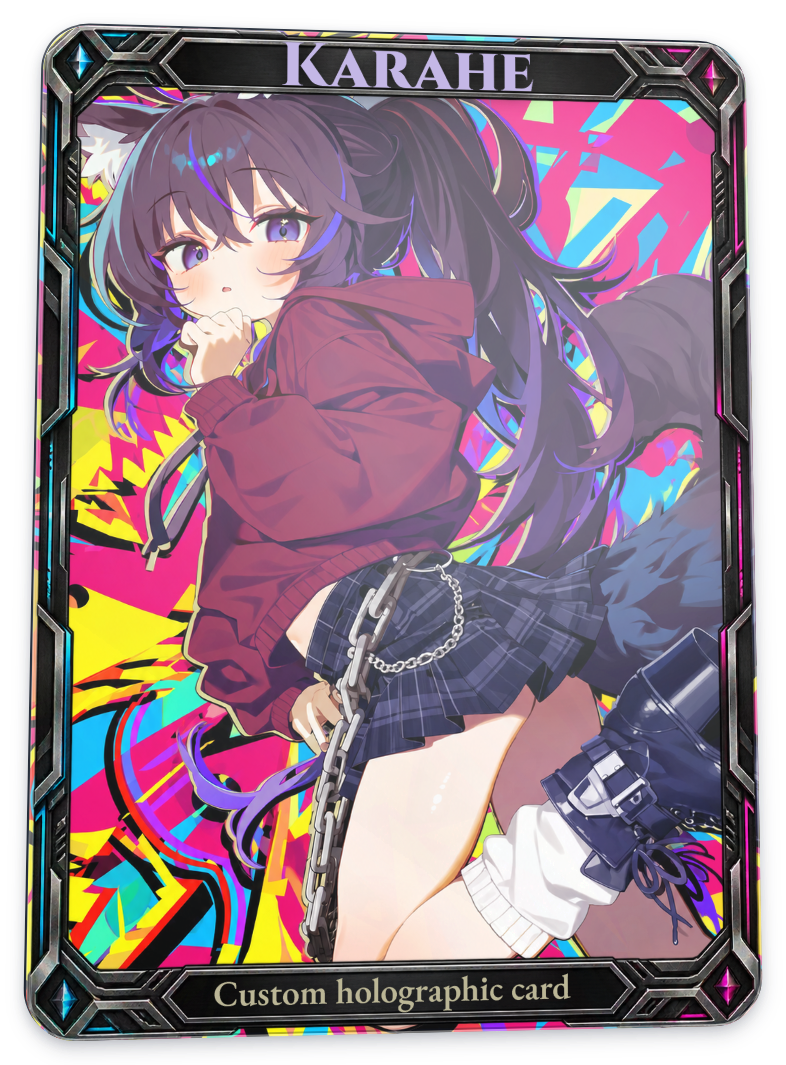 |
Simulates a silver-gray metallic base. The tool treats cold foil as a preprint material below the original image and hot foil as a postprint material above it. Simply select a material; you do not need to move layers yourself.
Cold foil overprint
| Before | After |
|---|---|
|
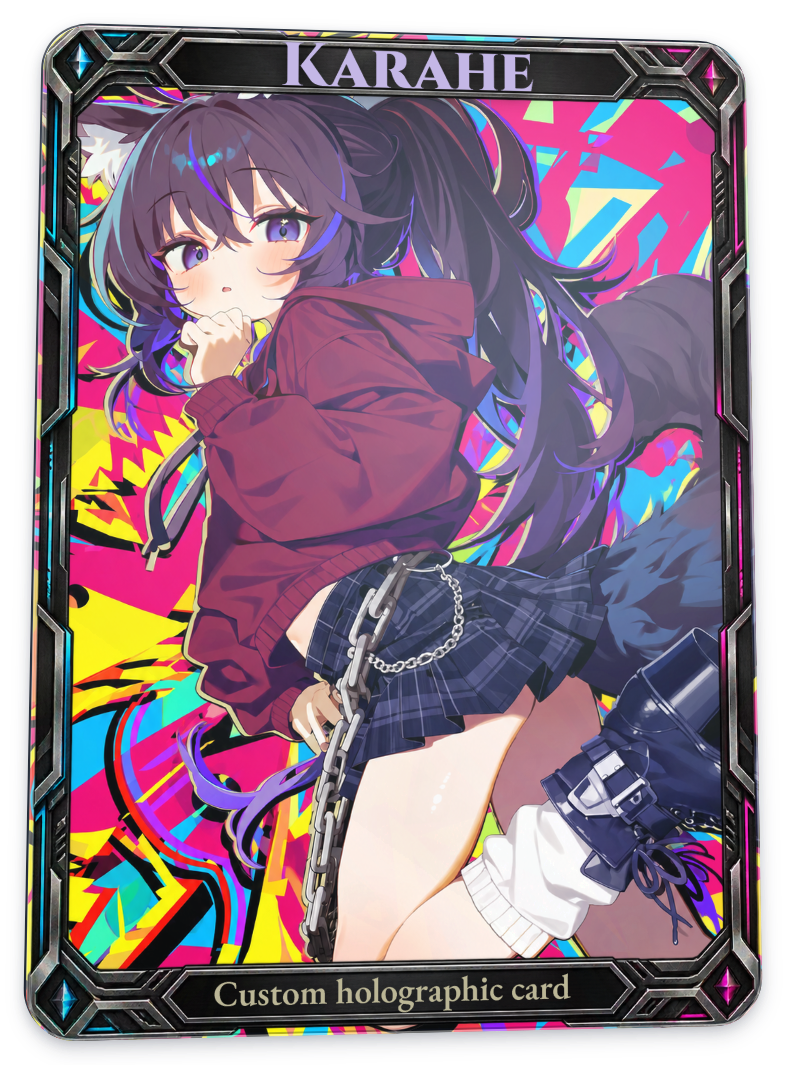 |
Simulates artwork printed over a metallic base. Broad, cool, bright reflections appear on this card.
Film Finish
The left image has no surface finish; the right shows only the selected film. Even when a material’s name refers to touch or protection, you can inspect only its on-screen reflections, shading, and patterns here.
Gloss
| Before | After |
|---|---|
|
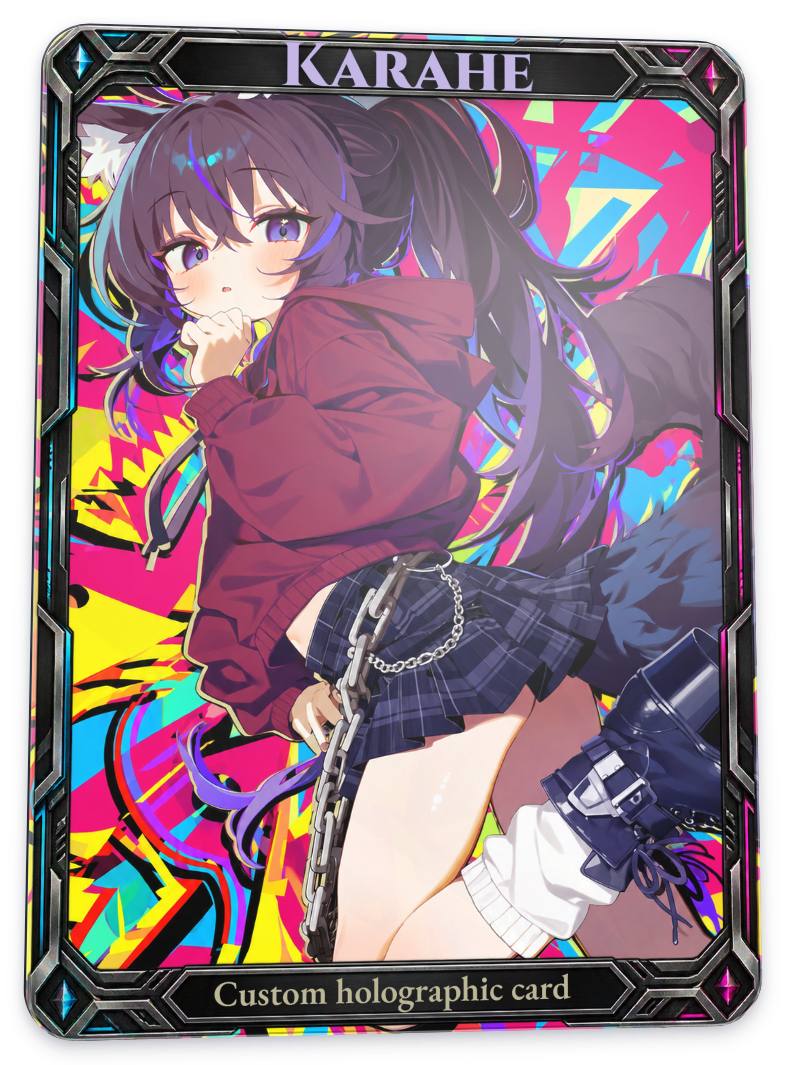 |
Adds bright reflections from a smooth surface. Areas brighten according to where the light falls.
Matte
| Before | After |
|---|---|
|
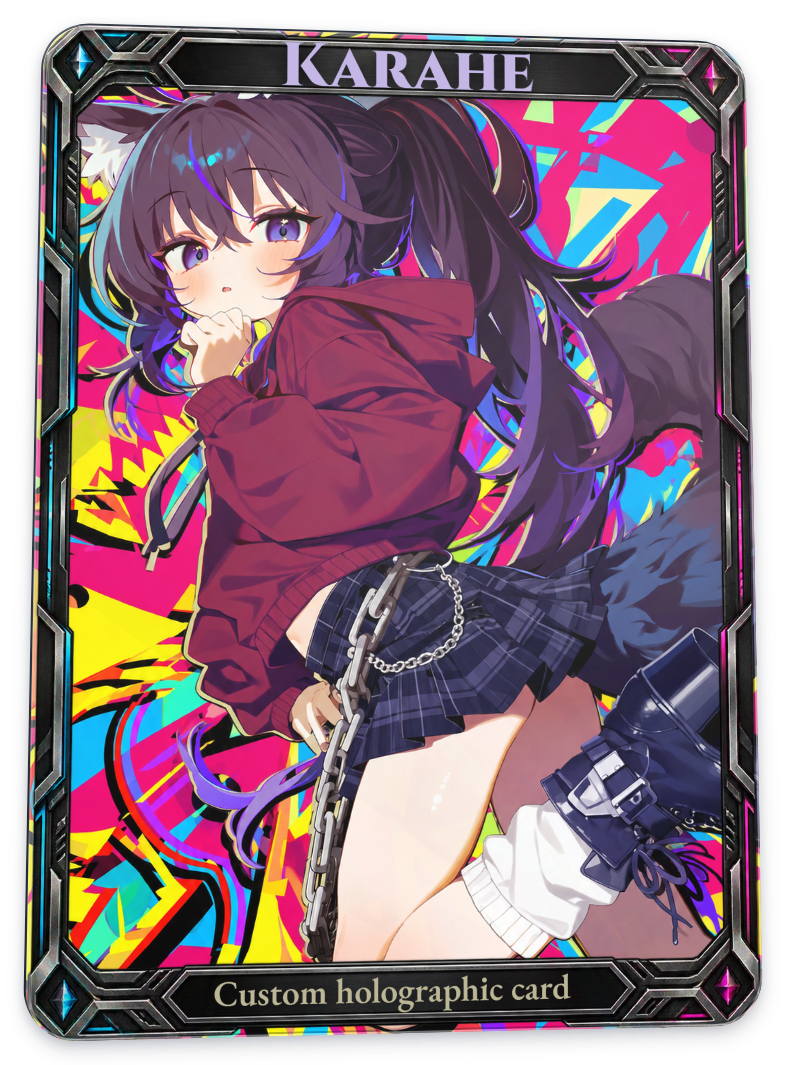 |
Creates the impression of a rougher surface with diffuse reflections and softer contrast. At 100%, it can look quite hazy.
Soft touch
| Before | After |
|---|---|
|
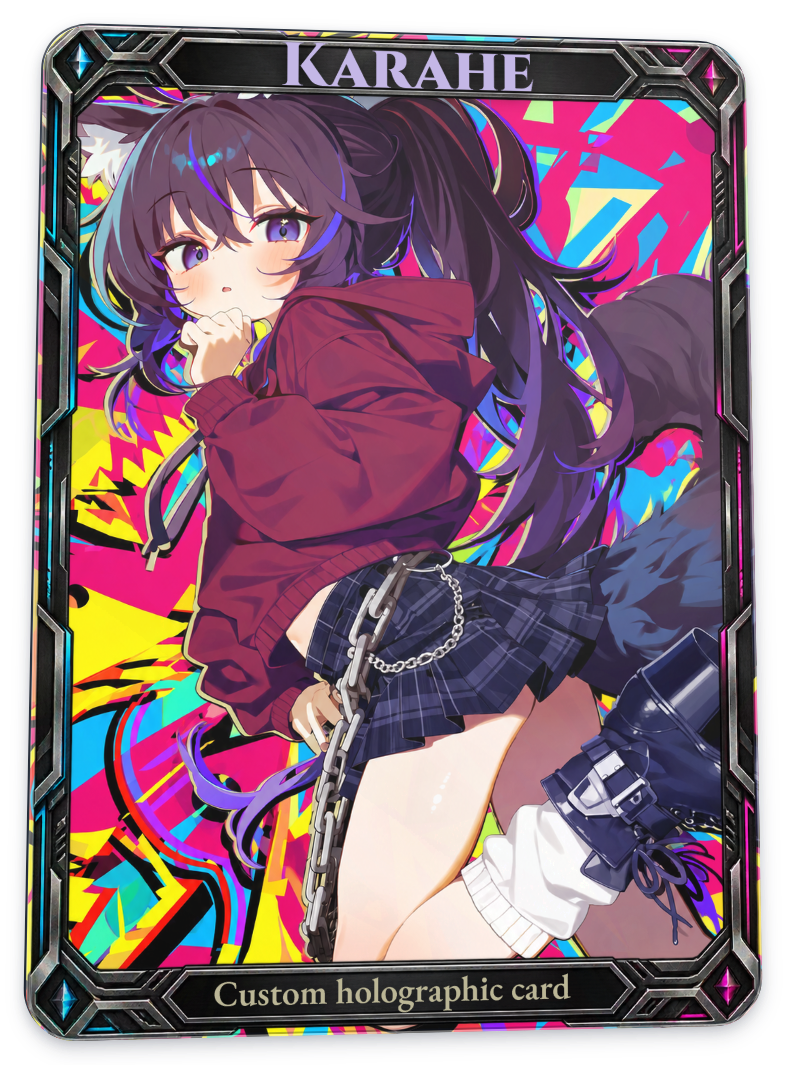 |
Simulates a soft sheen and diffuse reflections. Compare its brightness and reflection distribution with Matte.
Anti-scratch
| Before | After |
|---|---|
|
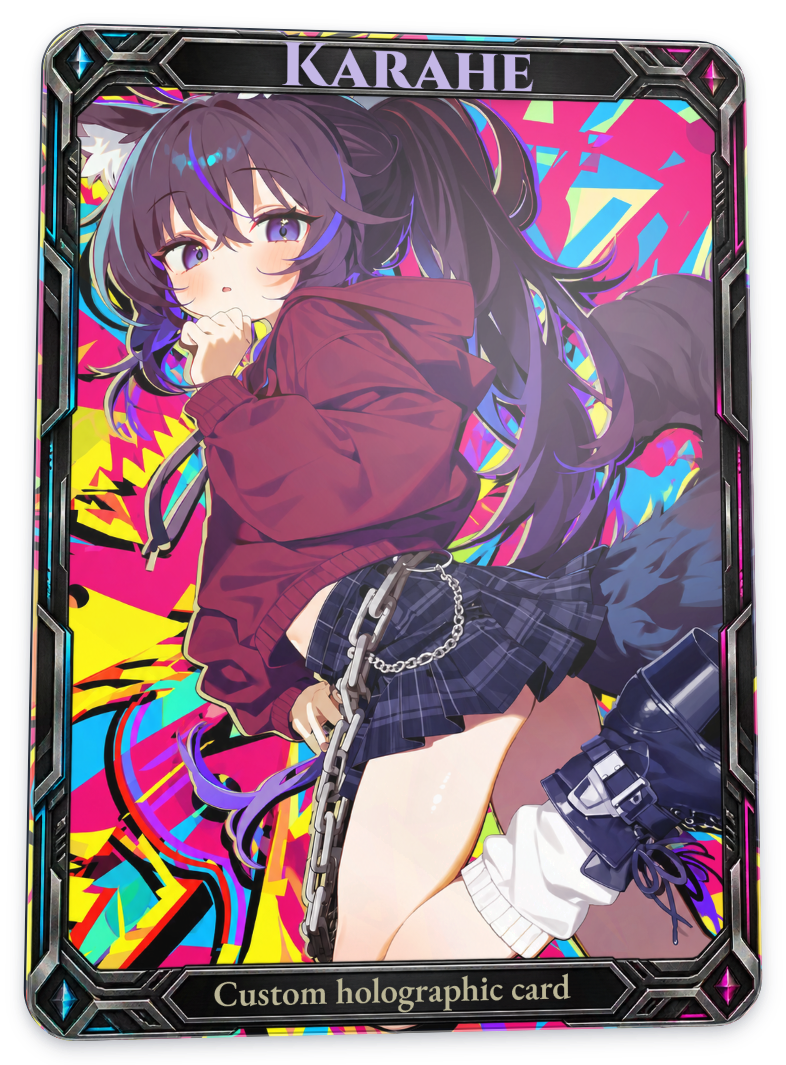 |
Simulates surface reflections reminiscent of a protective film. Choose it based on whether you like its gloss.
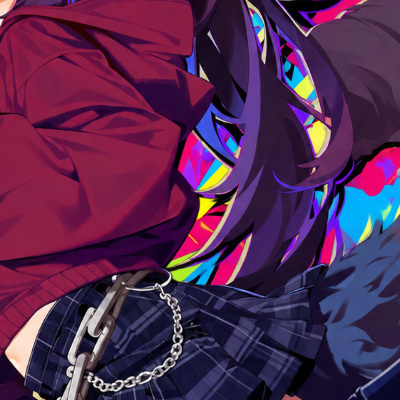
Brushed
| Before | After |
|---|---|
 |
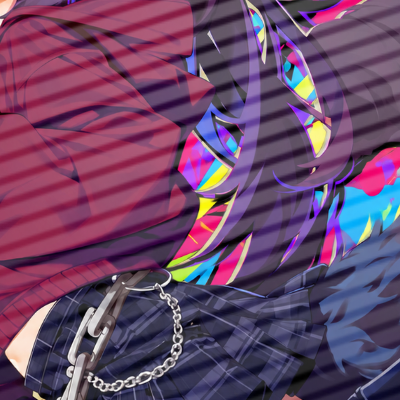 |
Creates repeating reflections along one direction. Parallel diagonal grain is clear at this angle. The film adds its own pattern, separate from the fine texture in the Foil menu.
Textured film
| Before | After |
|---|---|
|
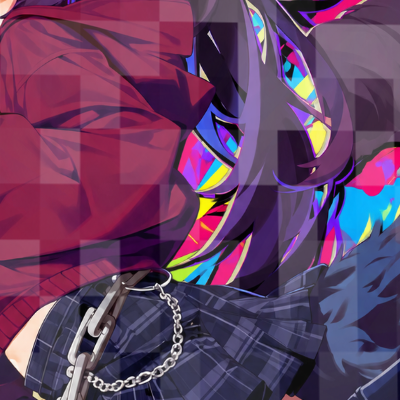 |
A rectangular surface pattern with brightness varying between cells. Rather than strongly raising the paper as embossing would, it represents film texture and reflections together.
Holographic film
| Before | After |
|---|---|
|
 |
A film with holographic properties. Crossing bright lines are more visible than rainbow colors under these conditions. The similarly named Hot foil holographic is a Hologram Materials option, while this is a film, so you can select both. Overlapping reflections can become very bright.
Cracked glass
| Before | After |
|---|---|
|
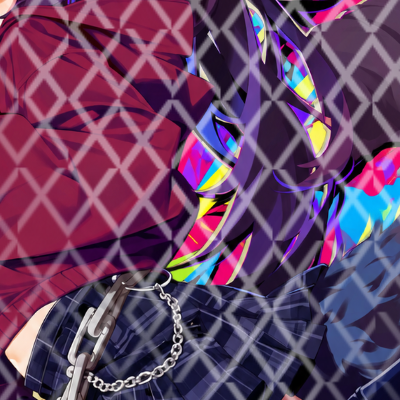 |
Crossing lines reminiscent of boundaries in cracked surfaces. The current tool repeats geometric lines over the original artwork, as shown here.
Frosted
| Before | After |
|---|---|
|
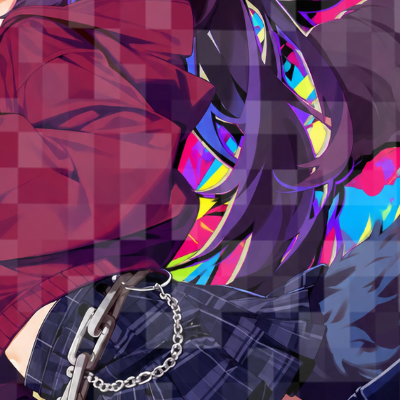 |
Creates rectangular areas with different levels of brightness and haze. Lower the strength to keep the artwork clearer.
Rainbow beam
| Before | After |
|---|---|
|
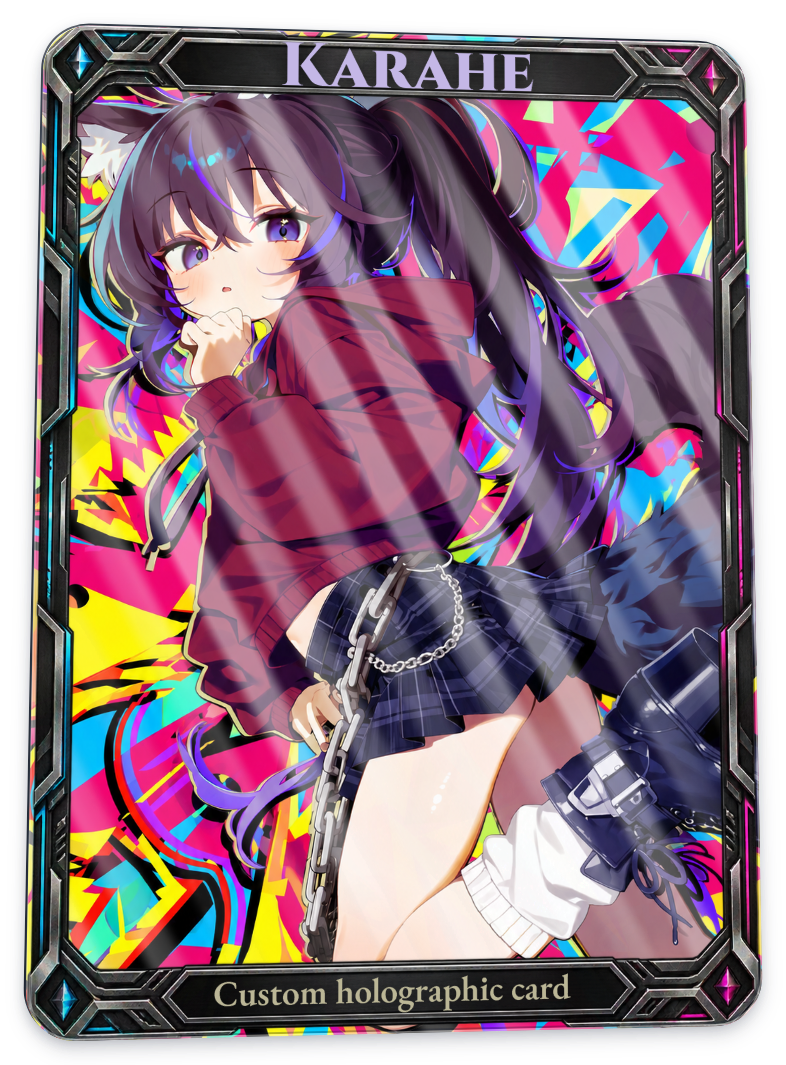 |
An option for directional bands and colored reflections. Under these conditions, broad bright diagonal bands are more visible than a flowing rainbow. Compare it when you want a different shape from fine grids or lines.
UV Coating
These comparisons disable Hologram Materials and Film Finish, applying only UV Coating. The lighting environment remains Daylight.
Overall gloss UV
| Before | After |
|---|---|
|
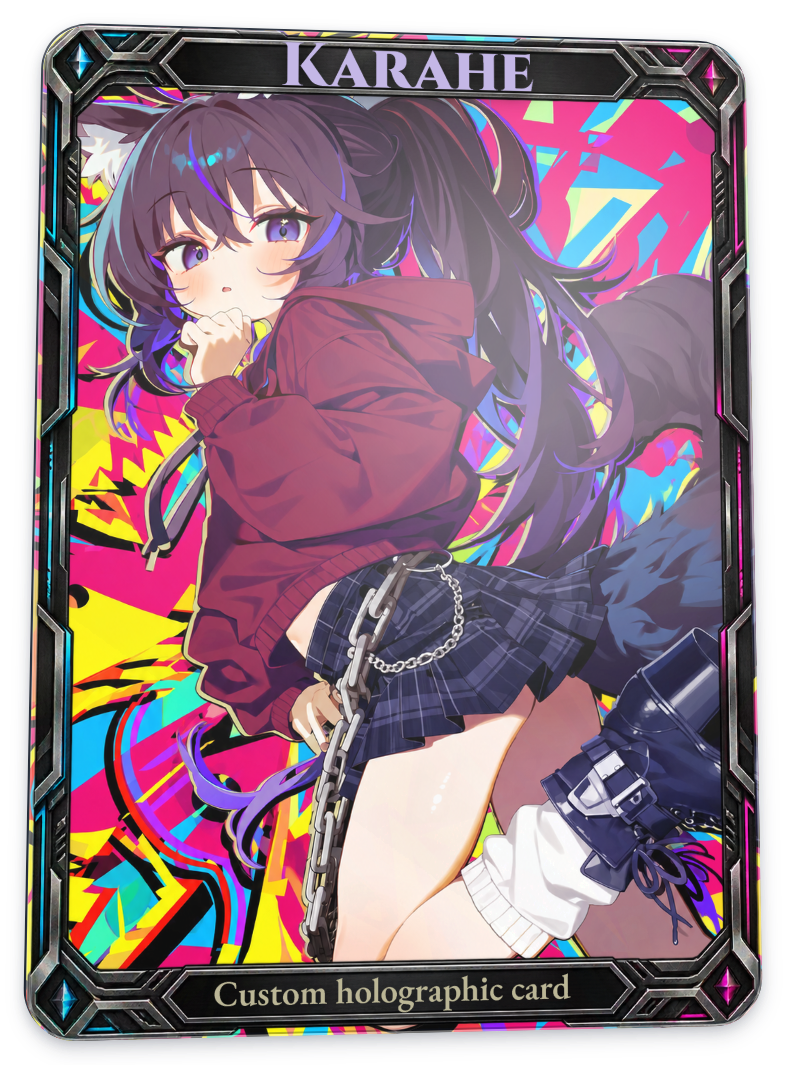 |
Adds glossy reflections to the selected application areas. It covers the entire selected Character, Background, or other area without dividing it into a separate spot pattern.
Matte UV coating
| Before | After |
|---|---|
|
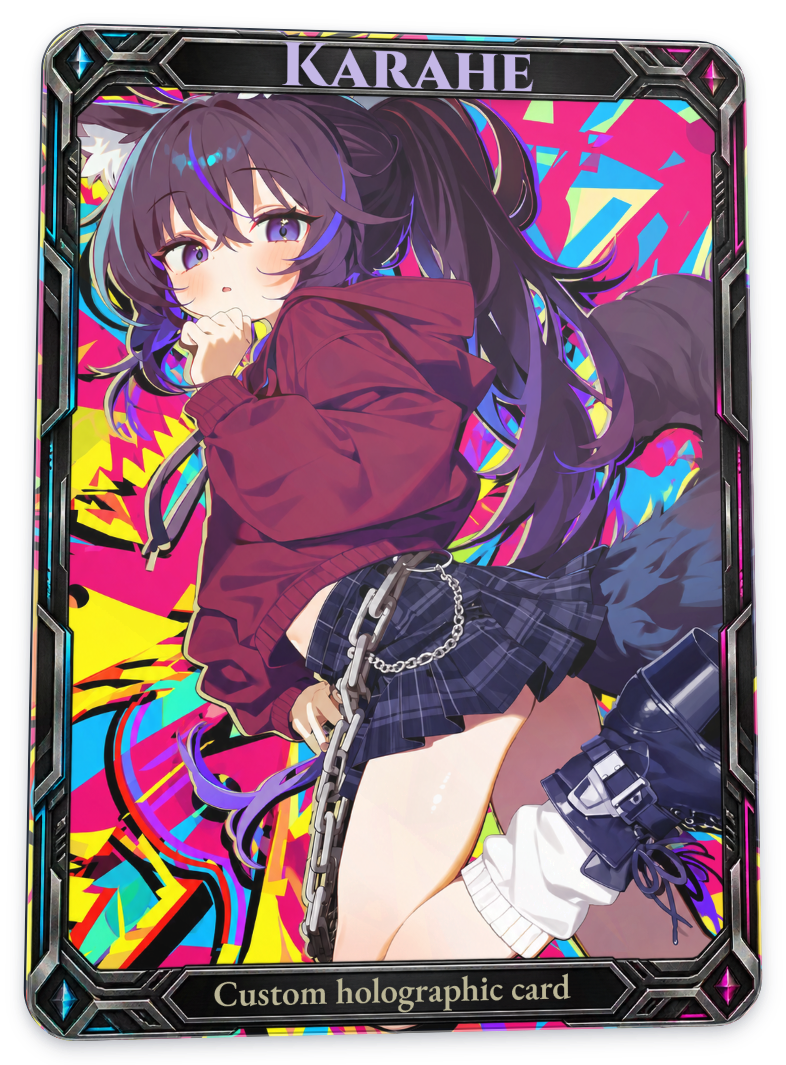 |
Makes reflections appear softly diffused across the selected areas. It can look similar to Matte film, but it is a separate option. When combining them, check that the whole card does not become too hazy.
Soft-touch UV coating
| Before | After |
|---|---|
|
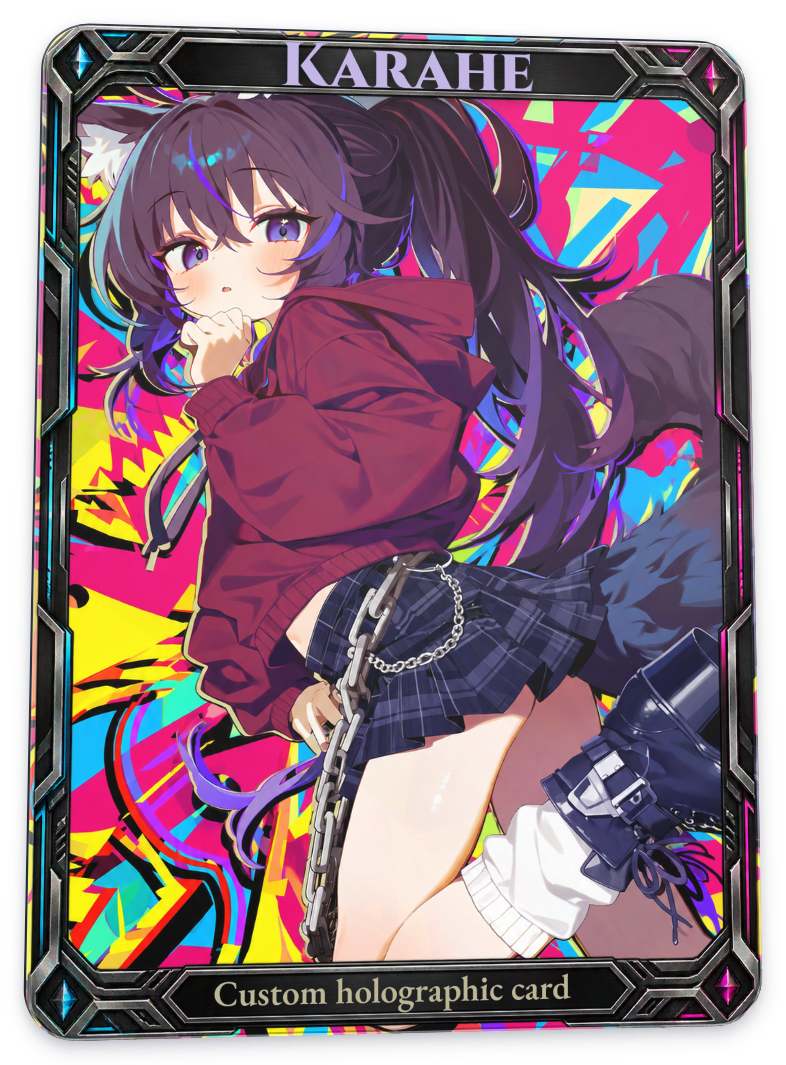 |
Adds soft gloss and haze through UV Coating. Compare its on-screen finish with Soft touch film.
Textured / 3D UV
| Before | After |
|---|---|
|
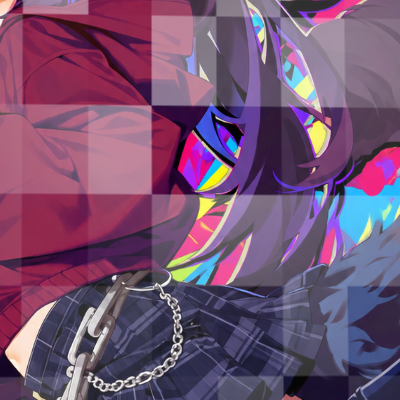 |
A pattern whose cells vary in shading and reflection, suggesting a surface with different heights. It leaves the card’s outline intact while giving the surface a sense of relief. In this example, reflection differences between rectangular faces are pronounced.
Spot UV
| Before | After |
|---|---|
|
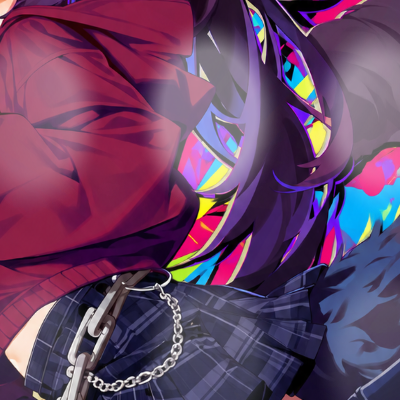 |
Adds gloss primarily to the patterned areas. This example uses Circles. ‘Procedural’ means the tool generates a repeating pattern without requiring you to prepare a mask file.
Reverse UV
| Before | After |
|---|---|
|
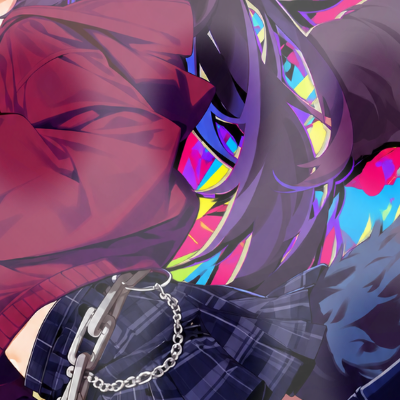 |
Applies a response to areas complementary to Spot UV, with different surface roughness settings as well. The pattern selector described below currently appears only for Spot UV.
Spot UV pattern
There are four additional choices besides Circles. The comparisons below replace Circles with another pattern while keeping the same Spot UV strength and application areas.
Rounded tiles
| Before · Circles | After · Rounded tiles |
|---|---|
|
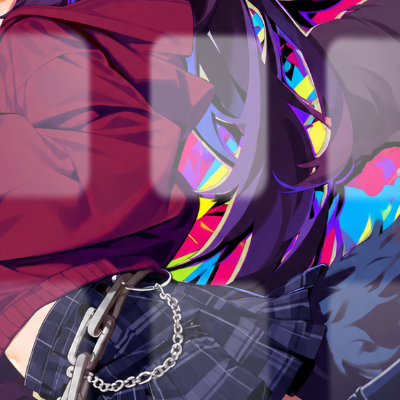 |
Divides the glossy regions into rounded rectangles. At angles where reflections spread out, the difference from Circles can be subtle.
Diagonal stripes
| Before · Circles | After · Diagonal stripes |
|---|---|
|
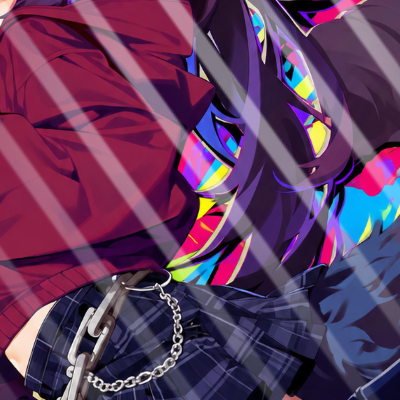 |
Connects glossy regions into diagonal bands. Their direction can resemble Brushed film, but this setting controls where UV coating is applied.
Honeycomb
| Before · Circles | After · Honeycomb |
|---|---|
|
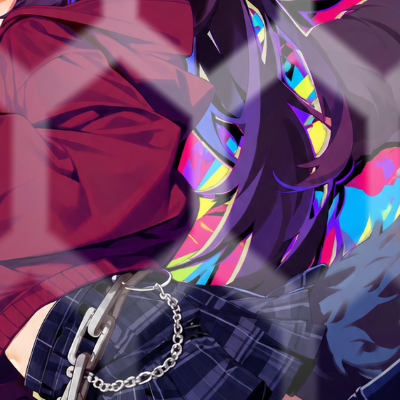 |
Adds gloss in repeating hexagonal regions. Even at the same strength, their connected arrangement looks different from Circles.
Clustered dots
| Before · Circles | After · Clustered dots |
|---|---|
|
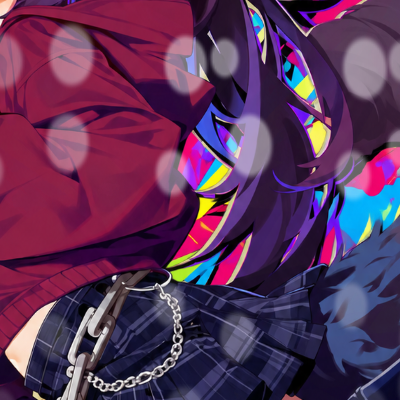 |
Creates glossy regions from clusters of small dots. Detailed artwork can hide them, so you can use View effect only, described below, to inspect the pattern first.
Strength and application areas
Lower the strength
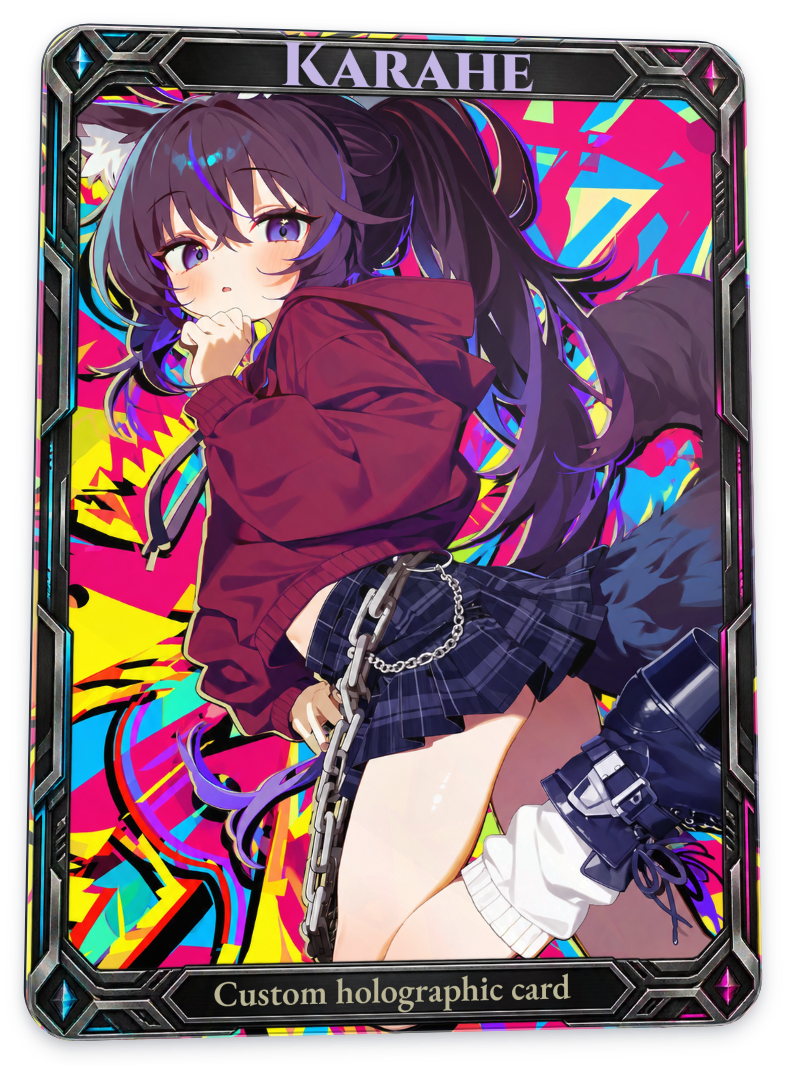
| Before · Overall gloss UV at 25% | After · Overall gloss UV at 100% |
|---|---|
 |
|
Strength controls how prominently the selected finish appears. The 100% examples in this guide emphasize differences. Lower the strength if the artwork becomes too bright or hazy.
Apply only to the character
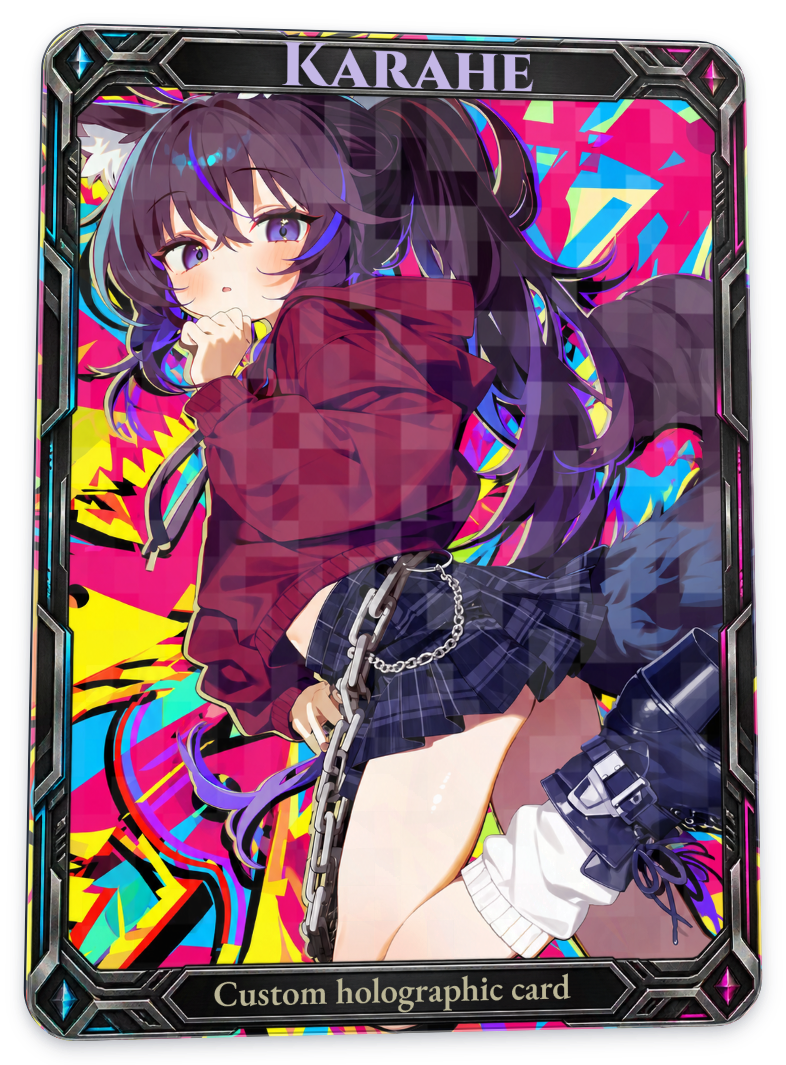
| Before · all four areas selected | After · Character only |
|---|---|
 |
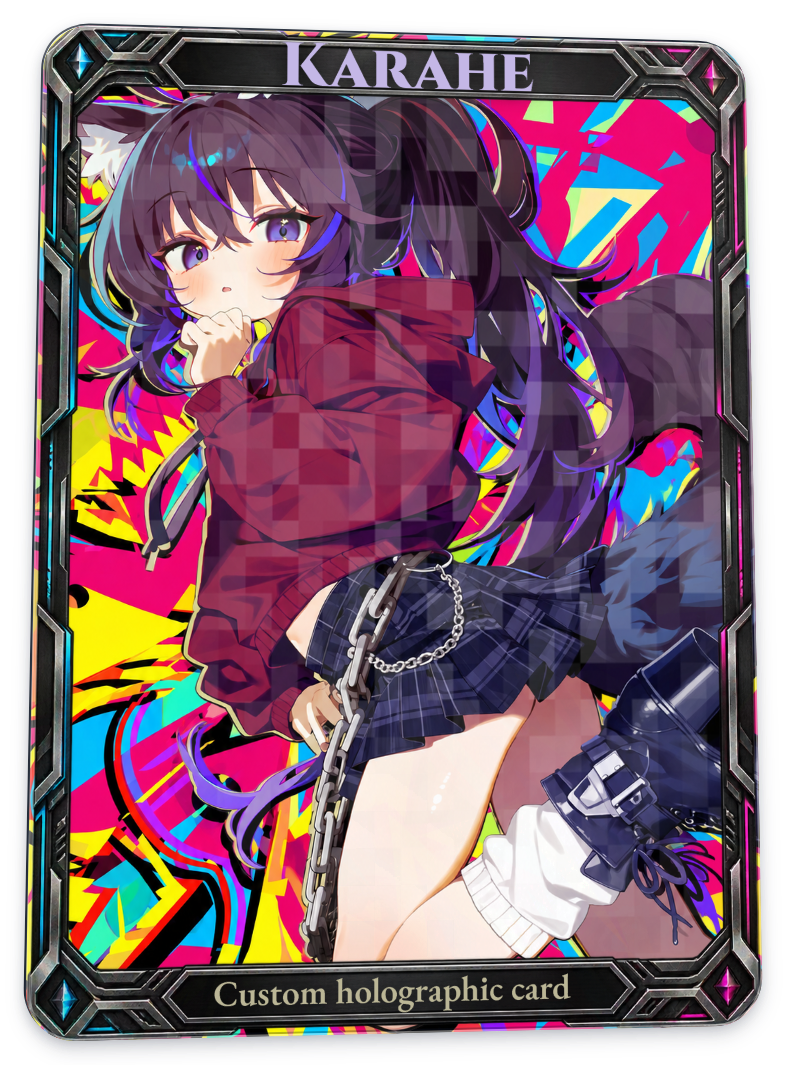 |
Frosted stays enabled while its application area narrows to the character. Compare whether the rectangular pattern disappears from the background. This project has separate character and background files, allowing independent settings. Prepare separate files this way if you want to style the areas independently.
Hologram Materials, Film Finish, and UV Coating each have their own Application area checkboxes. Show areas identifies selected areas with colors; View effect only shows the finish’s appearance. The clarity of actual reflections depends on the original colors and angle. On this card, changes to the dark frame and text were smaller than those in the artwork.
Combine different finishes
The tables below add one finish to a card that already has another. Combined effects influence each other’s brightness, color, and reflection distribution, so the result may differ from simply overlaying the individual examples.
Add Gloss film to Gold
| Before · Hot foil gold | After · Gold + Gloss film |
|---|---|
|
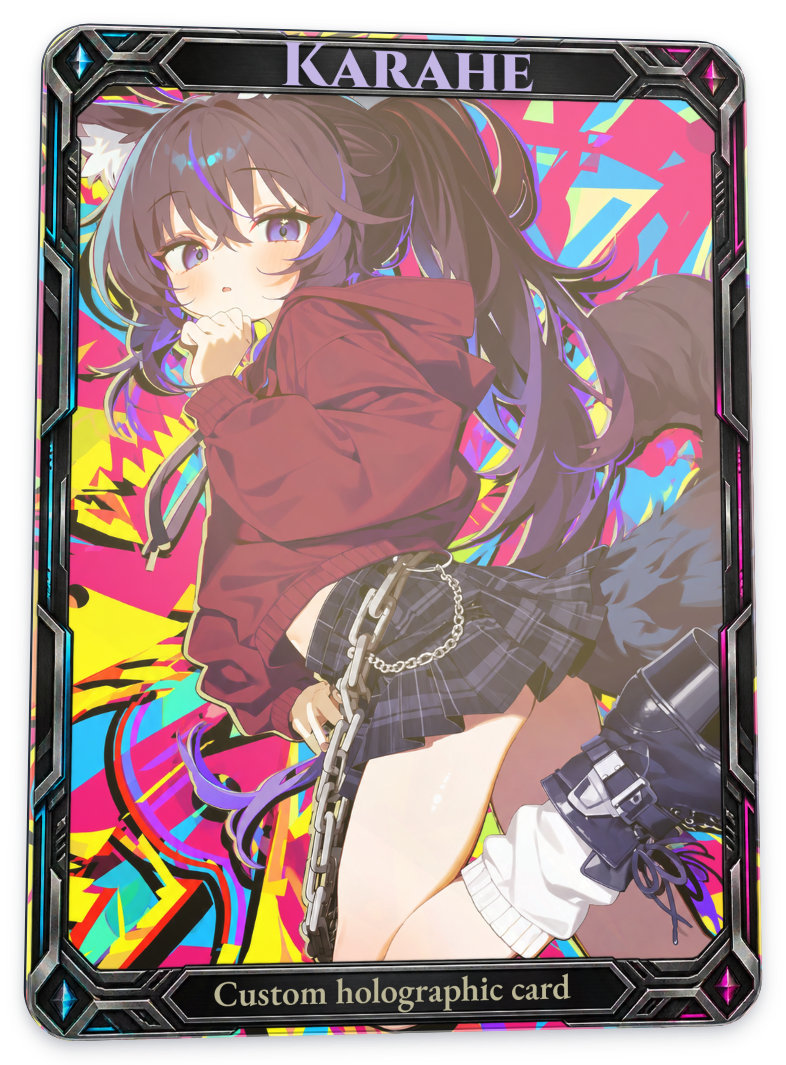 |
A glossy finish added over a golden material. This shows how metallic color and surface gloss work together. Both are at 100%, so bright reflections can become strong.
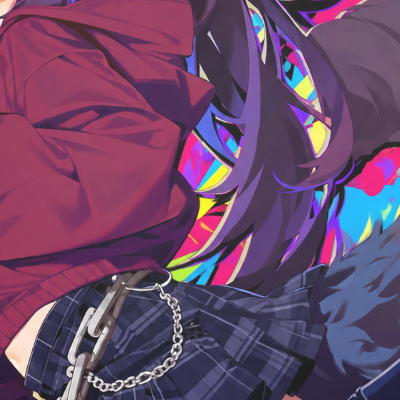
Add Spot UV to Matte
| Before · Matte film | After · Matte film + Spot UV |
|---|---|
 |
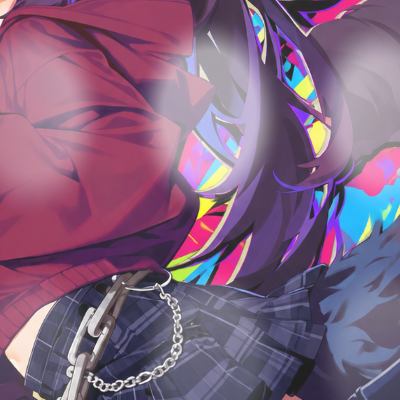 |
Combines a broad matte base with localized bright circular reflections. Adjust strength while comparing gloss inside and outside the spot pattern.
View effect only
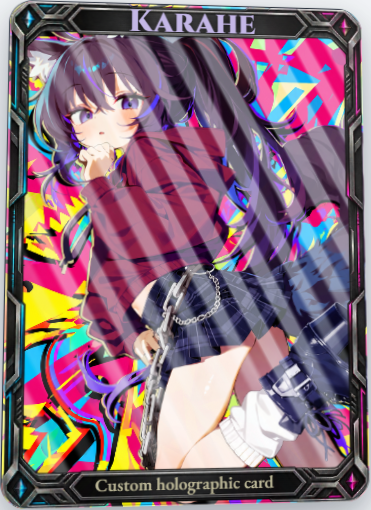
If busy artwork makes a finish hard to see, enable that option’s View effect only. It displays the effect over a background designed for inspection. The next three tables are screenshots of the actual editor preview, captured differently from the earlier Recommended-angle exports.
Hologram Materials
| Before · composited on the card | After · effect only |
|---|---|
 |
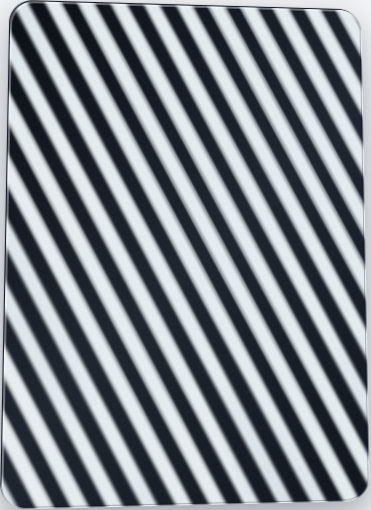 |
Inspect the material’s repeated bands and brightness differences separately from the artwork’s colors. The bands in this capture are nearly monochrome. The original card stays intact.
Film Finish
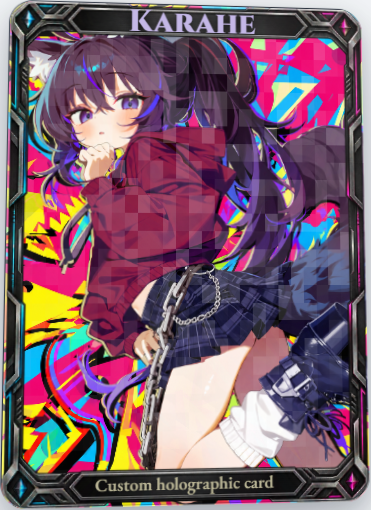
| Before · composited on the card | After · effect only |
|---|---|
 |
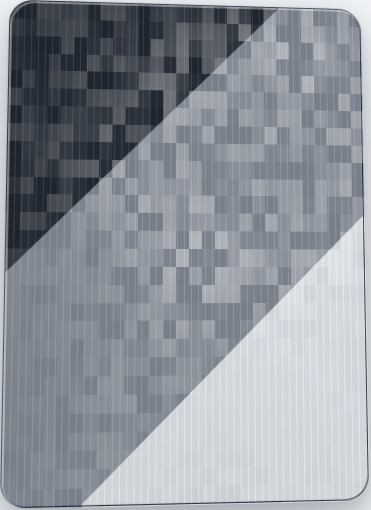 |
Inspect Frosted’s rectangular faces and brightness differences without the artwork. The thin vertical lines and broad diagonal light and dark regions belong to the inspection background; the finish itself is the rectangular pattern over them. This helps distinguish a missing pattern from one obscured by the artwork.
UV Coating
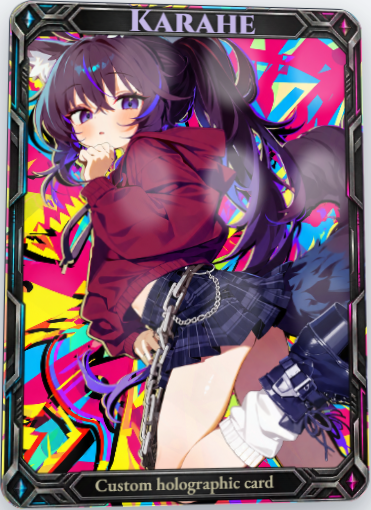
| Before · composited on the card | After · effect only |
|---|---|
 |
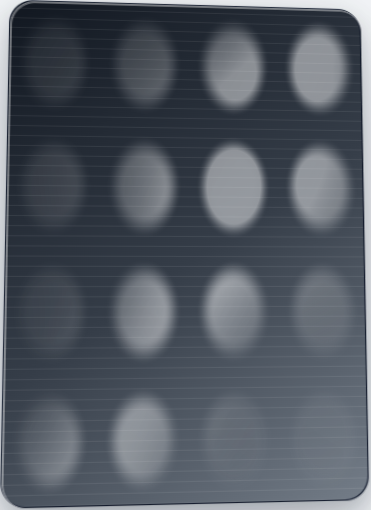 |
Inspect Spot UV’s circular glossy regions. The thin horizontal lines behind them are an inspection background used only in the preview. If the effect is hard to see at one angle, slowly move the card to find where the reflections appear.
What to keep in mind when choosing
Some finishes have similar names or appearances. Start with one, adjust its strength and application areas, then add another group to make comparisons easier. On artwork that is already bright or strongly colored, patterns and reflection positions may be easier to see than subtle color shifts.
This guide describes digital finishes shown by the tool. Check a print shop’s specifications and samples for actual film thickness, texture, scratch resistance, color reproduction, and production results.
Related guides
Getting started · Print materials · Foil · Light, environment & ink · Text
AI disclosure
Translated with OpenAI Codex using GPT-6 Astra (xhigh reasoning). Reviewed and edited by Yioo.