Add a frame and text to a favorite picture, then make it shine as you tilt the card. SSR Card Maker lets you start with a single image and add foil reflections and surface patterns.
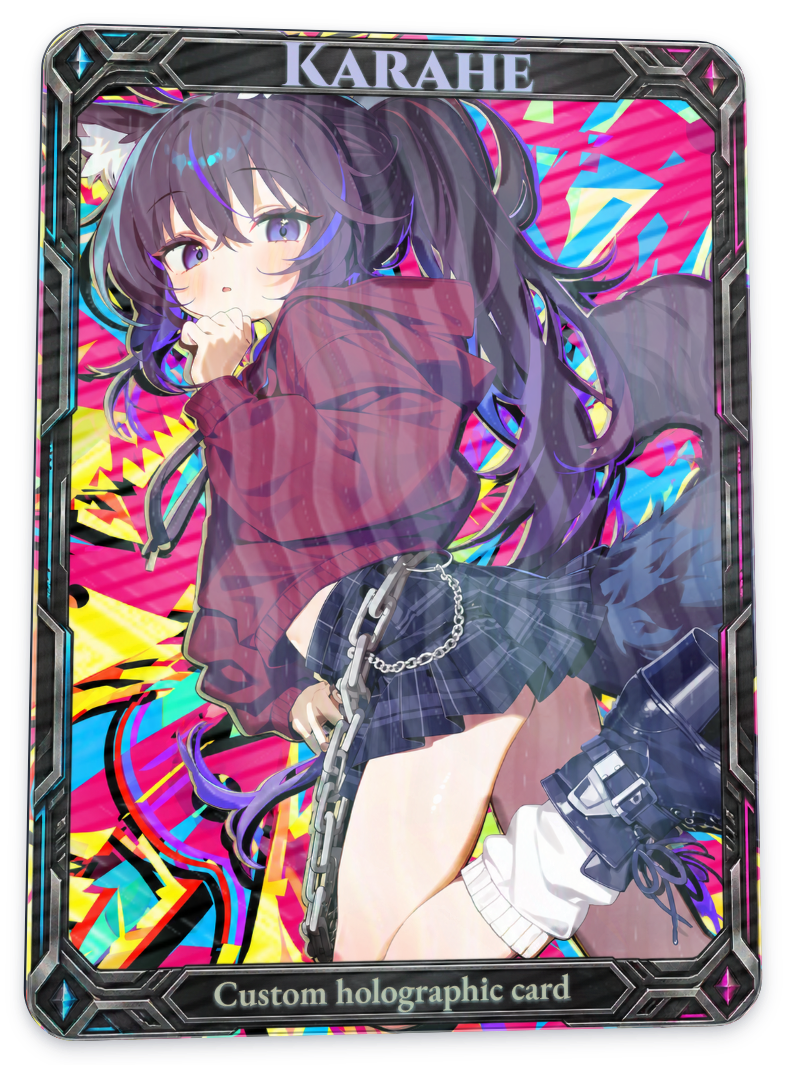
This finished example combines several materials, including a separately prepared frame and texture. The steps below use your own image and the built-in presets to make a card, then save both an image and an editable project.
1. Upload an image
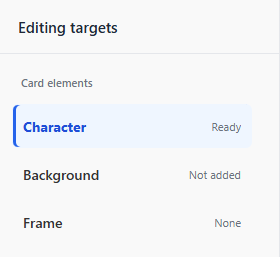
Upload your image under Card elements → Character. You can use a picture with the character and background already combined. Landscapes and photos without a person also work.
After uploading, adjust the image position and size. Check that the face and other important parts stay inside the card.
To apply different effects to the character and background, upload a separate file under Background and prepare a character image with transparency around the figure. If you upload a rectangular image that still contains its background under Character, the entire rectangle becomes the character area.
You can finish your first card with one image and prepare separate files later when you want to style each area differently.
2. Choose a card preset
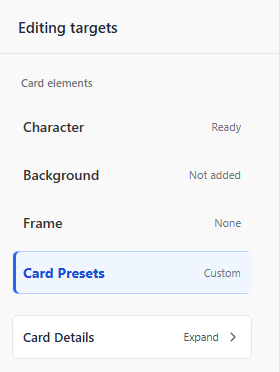
Choose a layout under Card Presets. A preset changes the frame, text placement, material settings, and other options together. Choose it before fine-tuning the text and effects.
To adjust the result, change the frame under Card elements or edit the wording under Text items. Lighting and patterns are under Card Details. Start by changing one or two noticeable settings and comparing the results.
3. Edit the title and text
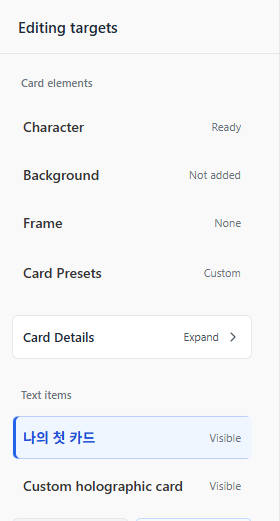
- Find
Text itemsin theEditview. - Select the text item you want to change.
- Under
Basic Settings, enter the text and adjust the font, text color, size, and position. - Look at the whole card and check that the title does not overlap important artwork or the frame.
For a Korean title, try a short phrase such as 나의 첫 카드 (My first card) in Noto Sans KR. Select the title and bottom caption separately to edit them. Use Add text to create another item.
Items linked to the frame's title or caption slot can use Fit to frame. Text you add yourself needs manual positioning and sizing. Use Hide this text to temporarily remove an item from view. The final remaining item cannot be deleted, so hide it as well if you want a card with no text.
4. Move the card to check its reflections
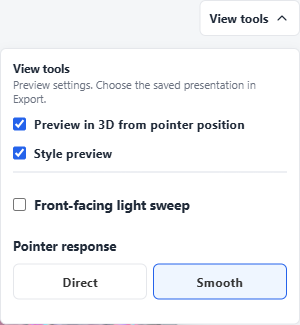
Move the mouse over the card to change its tilt and response to light. On a phone, keep a finger on the card and move it. You can also use Front-facing light sweep under View tools to keep the card facing forward while light passes across it.
The same settings can look different on different images. Sparkle may be less noticeable on pictures with large white or bright-yellow areas. Compare effects at similar angles and change one setting at a time.
5. Save a still card as PNG
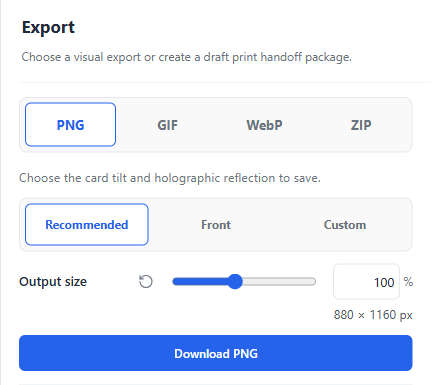
- Click
Exportat the top of the workspace. - Select
PNGas the format. - Start with
Recommendedand the defaultOutput size. - Click
Download PNG, then open the downloaded image to check the text and reflections.
PNG exports a still image with a transparent background. The default output is 880 × 1160px. To set the card angle yourself, use Custom to adjust the horizontal and vertical tilt.
To save a front-facing view with light at a specific point, select Front and turn on Front-facing light sweep. Adjust Progress to place the light where you want it, then download the image.
If the download button is disabled, check that you have uploaded a Character image. It is also temporarily disabled while another file is being generated.
6. Save an animated GIF or WebP
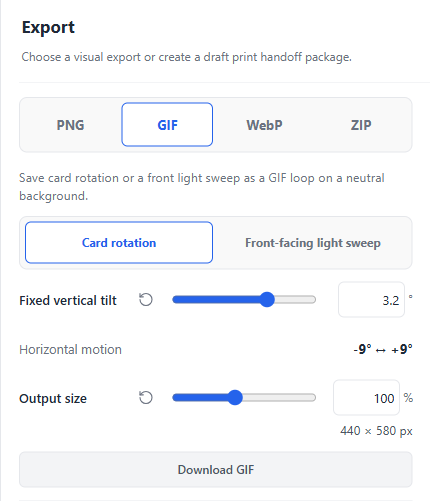
Under Export, choose GIF or WebP, then select an Animation.
Check the Output size, then click Download GIF or Download WebP. Both formats default to 440 × 580px and save a looping animation on a neutral background. GIF has a limited color palette; WebP uses full color. Check that the service where you plan to share it supports animation in that format.
| Style | Motion and controls |
|---|---|
| Card rotation | The card tilts left and right. Set the up/down angle with Fixed vertical tilt. |
| Front-facing light sweep | The card faces forward while light passes across it. Set Total duration to 1–5 seconds. |
If generation takes a long time, try the default output size first. You can cancel while a GIF or WebP is being generated.
7. Keep a ZIP for later editing
To change the image, wording, or materials later, save a ZIP as well as the finished image. PNG, GIF, and WebP files alone cannot restore the editing state. Save the ZIP before refreshing or closing the page.
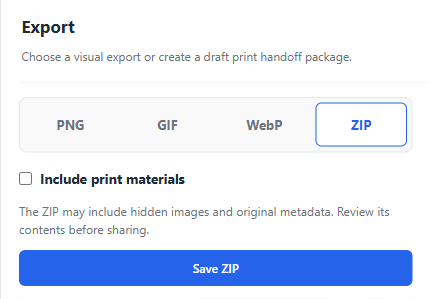
- Click
Save ZIPat the top. This opensExport → ZIP. - If you only need to resume editing, keep the defaults and click
Save ZIPinside the panel. - Keep the downloaded
ssr-card-project.zipfile. - To reopen it, click
Open ZIPat the top and choose the saved file.
Before loading a ZIP, save the card you are currently editing as well. The ZIP contains images, text, the frame, custom textures, and editing settings. Light-sweep settings are currently not saved, so you need to set them again before exporting a restored project.
The ZIP may also contain hidden items and metadata from the original images. Check its contents before sharing it with someone else.
Select Include print materials when you need print layers or color-separation files. Before using them for physical printing, check the print shop's specifications, color conversion requirements, and production capabilities. This tool shows the appearance of holograms and materials on screen.
Find the feature you want to adjust next
Once you have saved your first card, explore the features you need one at a time.
| What you want to change | Guide |
|---|---|
| Card stock, white underprint, and character-shaped relief | Print materials |
| Light movement, rainbow reflections, and fine surface patterns | Foil |
| Metallic materials, gloss or matte film, and UV coating | Surface finishes |
| Daylight, UV, darkness, and specialty inks | Light, environment, and ink |
| Text fonts, placement, foil colors, and relief | Text |
AI disclosure
Translated with OpenAI Codex using GPT-6 Astra (xhigh reasoning). Reviewed and edited by Yioo.