Under Card Details → Light, Environment & Ink, choose the lighting environment in which you view the card and the ink that responds to it. See how the card changes in Daylight, Ultraviolet, and Dark room environments. You can also keep foil reflection patterns and colors enabled alongside them.
Open SSR Card Maker · Getting started
Select a comparison image to enlarge it. On mobile, swipe horizontally within a table if it is wider than the screen.
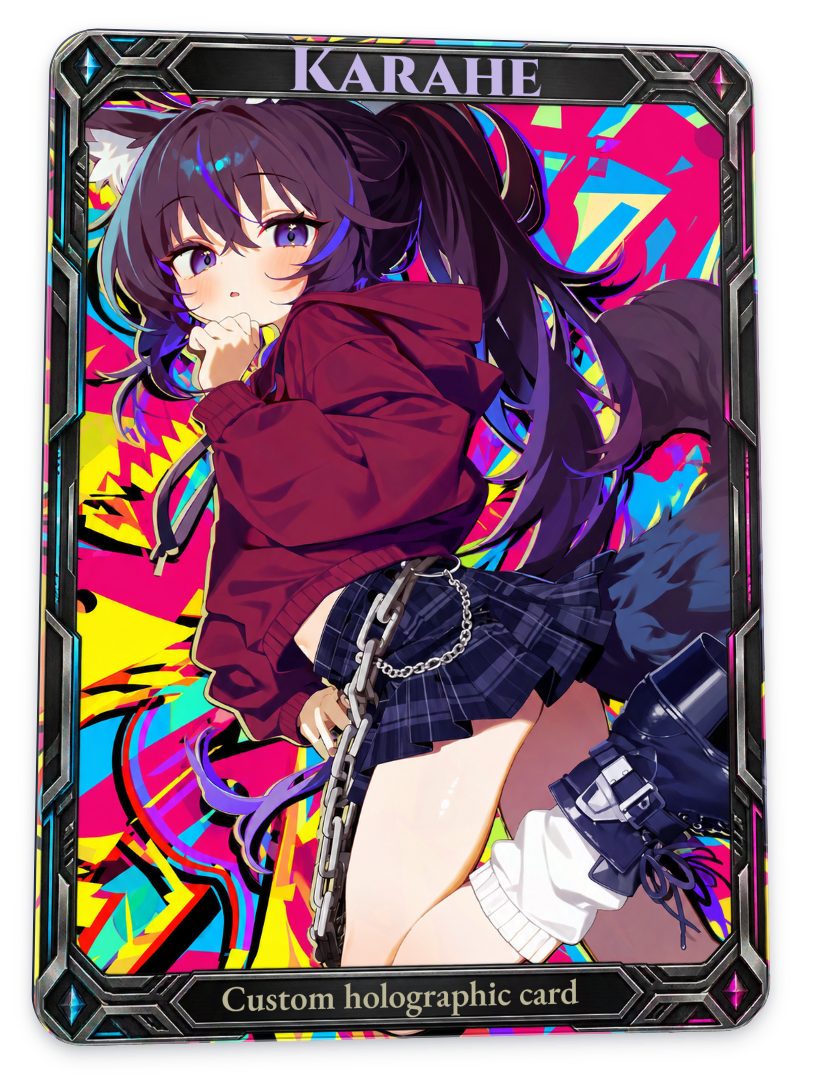
The examples use the same character and background, custom frame, Karahe title, and bottom caption. For comparison, card stock, white underprint, emboss/deboss, surface finishes, and separate foil reflections and textures were disabled. Separate hologram materials for the frame and text were also disabled.
In these tables, Before means the card before the effect was applied. Single-ink examples use 100% strength, all Character, Background, Frame, and Text areas selected, and the same Recommended angle. Strength was increased to show differences; adjust it to your own artwork. Exceptions are noted in the tables. No color, brightness, or contrast correction was applied.
Choose the lighting environment first
You can select Daylight, Ultraviolet, or Dark room without choosing an ink. In the current tool, switching to Ultraviolet or Dark room darkens a card even without ink. Changing lighting and ink at the same time makes it hard to tell what caused the difference. Choose the lighting first, then enable the ink in that same environment.
Daylight → Ultraviolet
| Before · Daylight, no ink | After · Ultraviolet, no ink |
|---|---|
 |
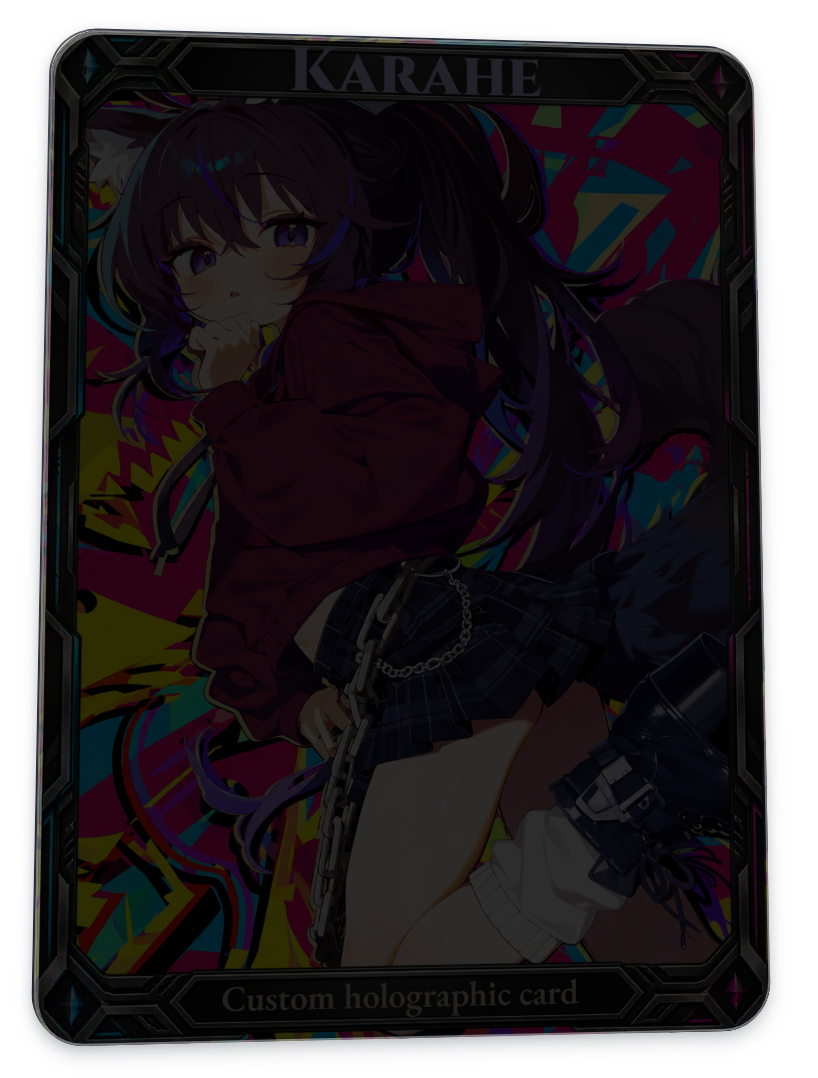 |
Here, only the lighting changes to Ultraviolet while ink stays disabled. The Fluorescent ink examples below show the glow with ink enabled.
Daylight → Dark room
| Before · Daylight, no ink | After · Dark room, no ink |
|---|---|
|
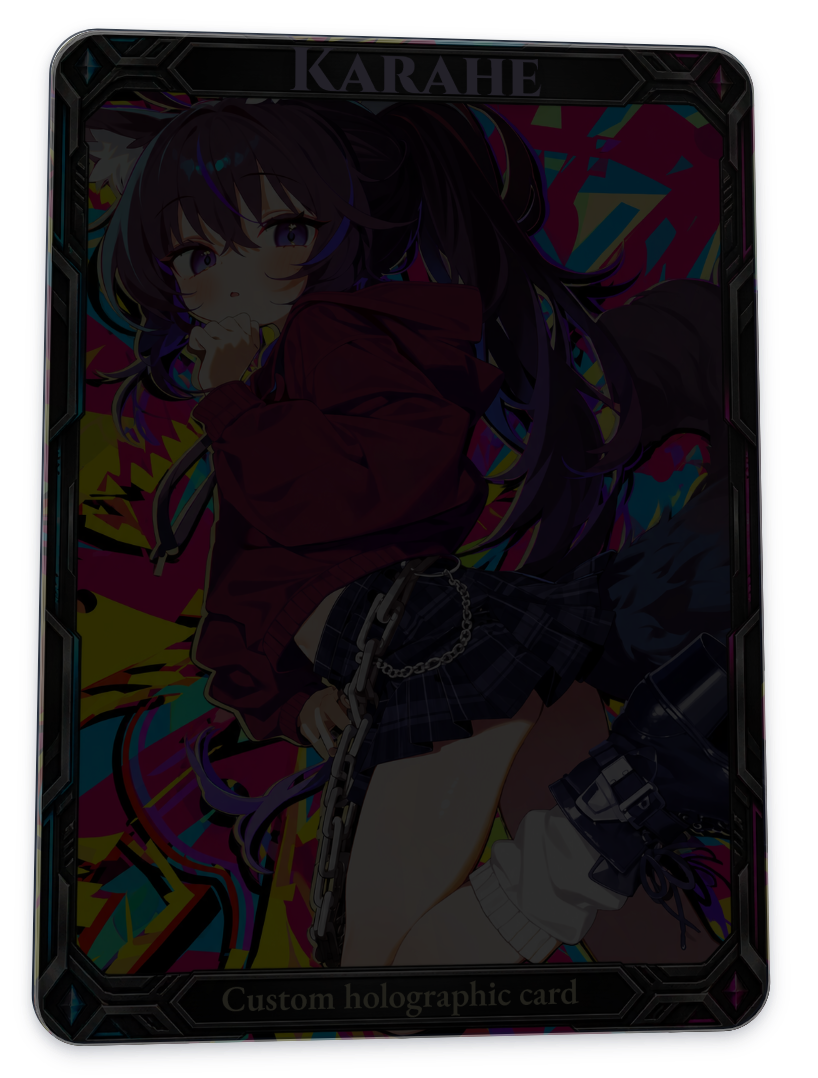 |
Non-emissive artwork becomes darker in Dark room. Choose Phosphorescent ink and set Stored charge to add areas that glow in the dark.
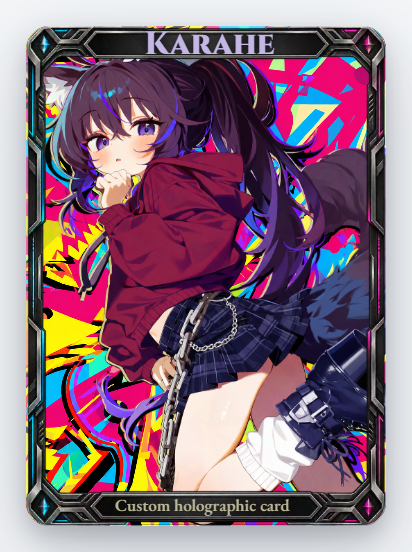
The editor background changes too
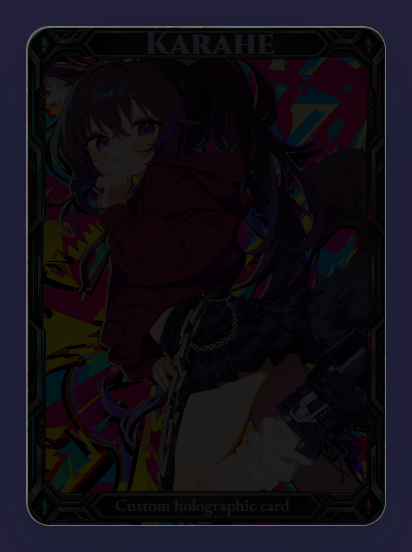
| Before · Daylight editor | After · Ultraviolet editor |
|---|---|
 |
 |
| Before · Daylight editor | After · Dark room editor |
|---|---|
|
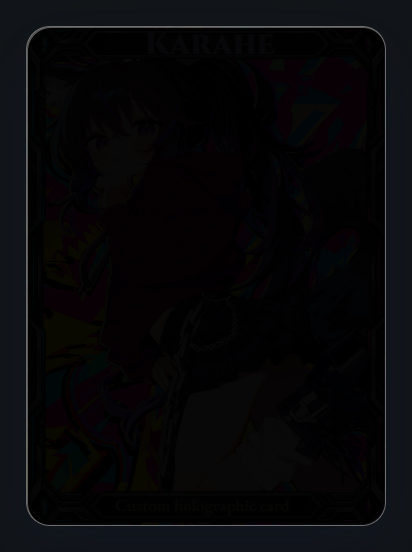 |
The two tables above are editor screenshots. The workspace around the card indicates the lighting environment in the editor. These captures are front-facing with pointer response disabled, so their composition differs from the earlier Recommended-angle PNGs. Within each table, only the lighting mode changes.
Special ink
Choose one ink at a time. You can combine it with effects from other menus, such as foil or film.
Fluorescent and Phosphorescent inks currently appear in the list only when both character and background images have been uploaded separately. Even if your artwork already contains a background, each of the two upload slots must contain a file. This guide’s project has both.
Pearlescent ink
| Before · Daylight, no ink | After · Pearlescent ink |
|---|---|
|
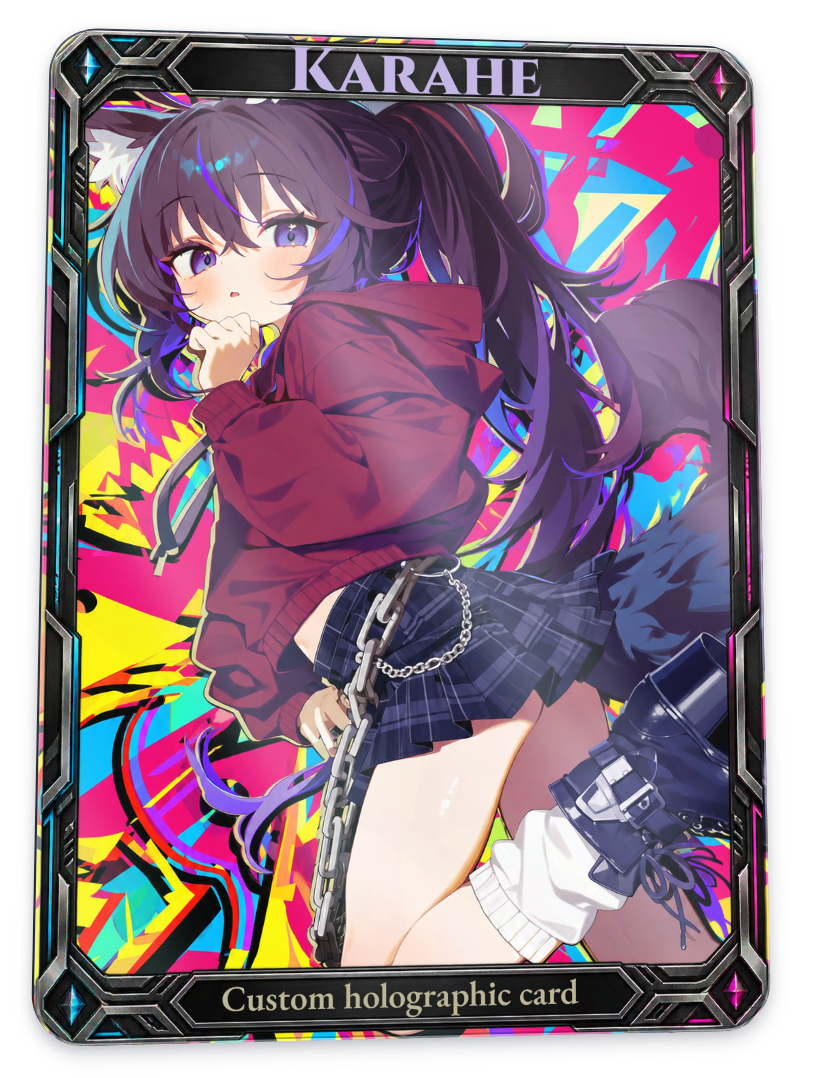 |
Adds bright, soft reflections and subtle color shifts. It works in Daylight too. In this example, the brightening of dark hair and clothing is particularly visible.
Its name resembles Hot foil pearlescent under Surface Finish, but they are separate options. This table shows only the ink enabled.
Optically variable ink (OVI)
| Before · Daylight, no ink | After · OVI |
|---|---|
|
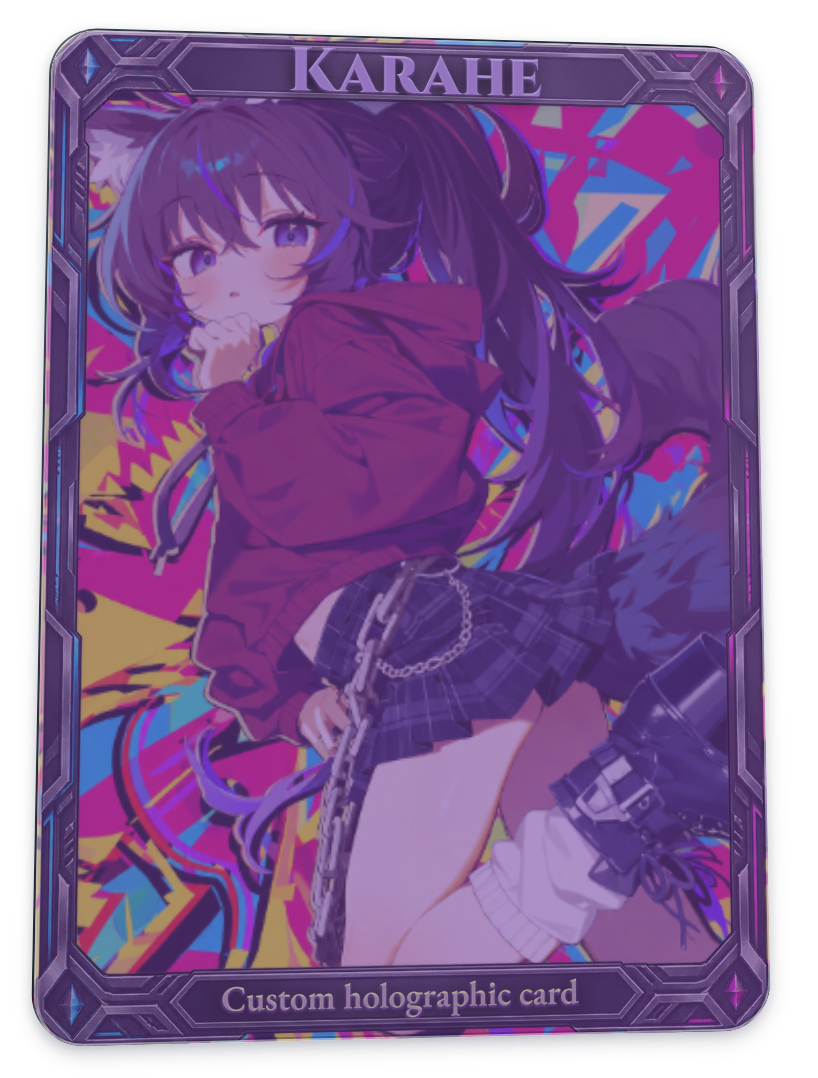 |
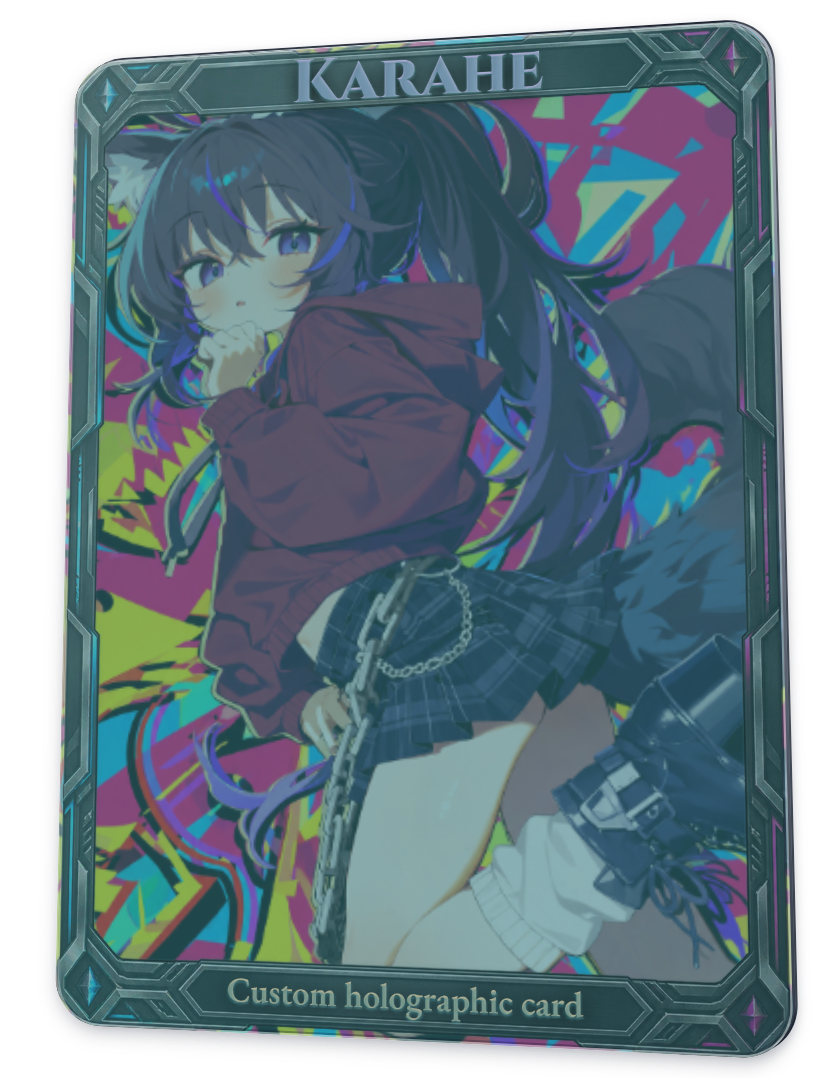
Simulates ink whose reflected color changes with the direction of the card’s tilt. At this angle, a broad purple shift is visible. It gives a different impression from foil reflections made up of several small rainbow bands.
| Before · horizontal −7°, vertical 4° | After · horizontal +7°, vertical 4° |
|---|---|
 |
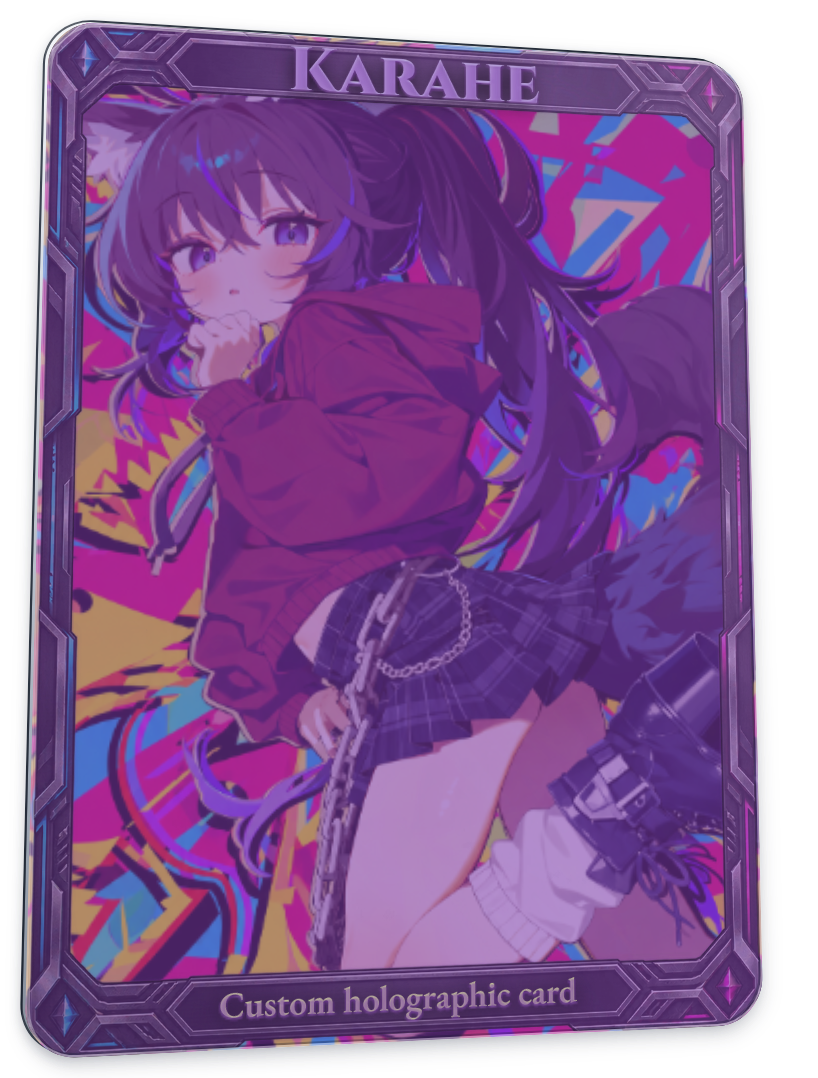 |
The two images keep the same ink and environment values, changing only horizontal tilt. Compare the teal and purple tones. These capture conditions differ from the previous OVI-only table, so compare brightness only within this pair.
Fluorescent ink
| Before · Daylight, no ink | After · Daylight, Fluorescent ink |
|---|---|
|
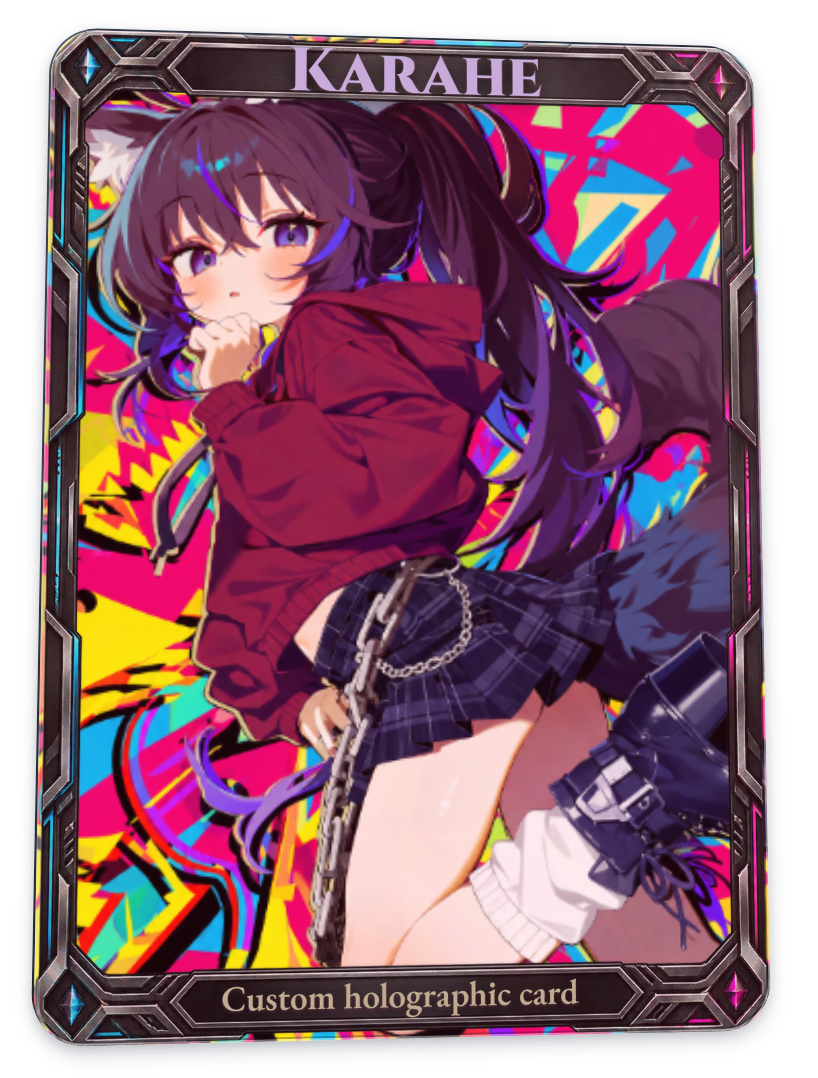 |
The difference is small in Daylight. If selecting the ink produces little visible change, check the lighting environment first.
| Before · Ultraviolet, no ink | After · Ultraviolet, Fluorescent ink |
|---|---|
|
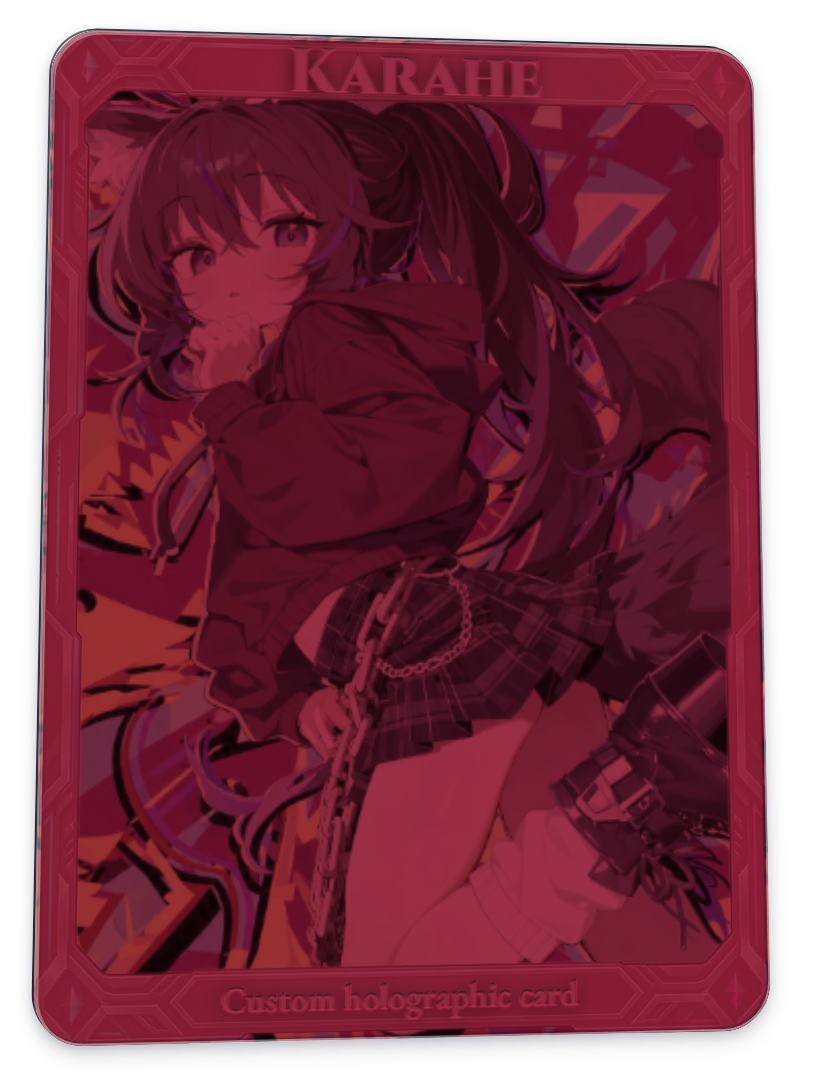 |
Enabling Fluorescent ink in the same Ultraviolet environment makes the red glow distinct. This example uses all areas at 100% strength, so the color shift is strong.
| Before · Fluorescent ink in Daylight | After · Fluorescent ink in Ultraviolet |
|---|---|
|
|
This table keeps the ink and changes only the lighting. When trying Fluorescent ink for the first time, this comparison order makes its response easier to distinguish.
Phosphorescent ink
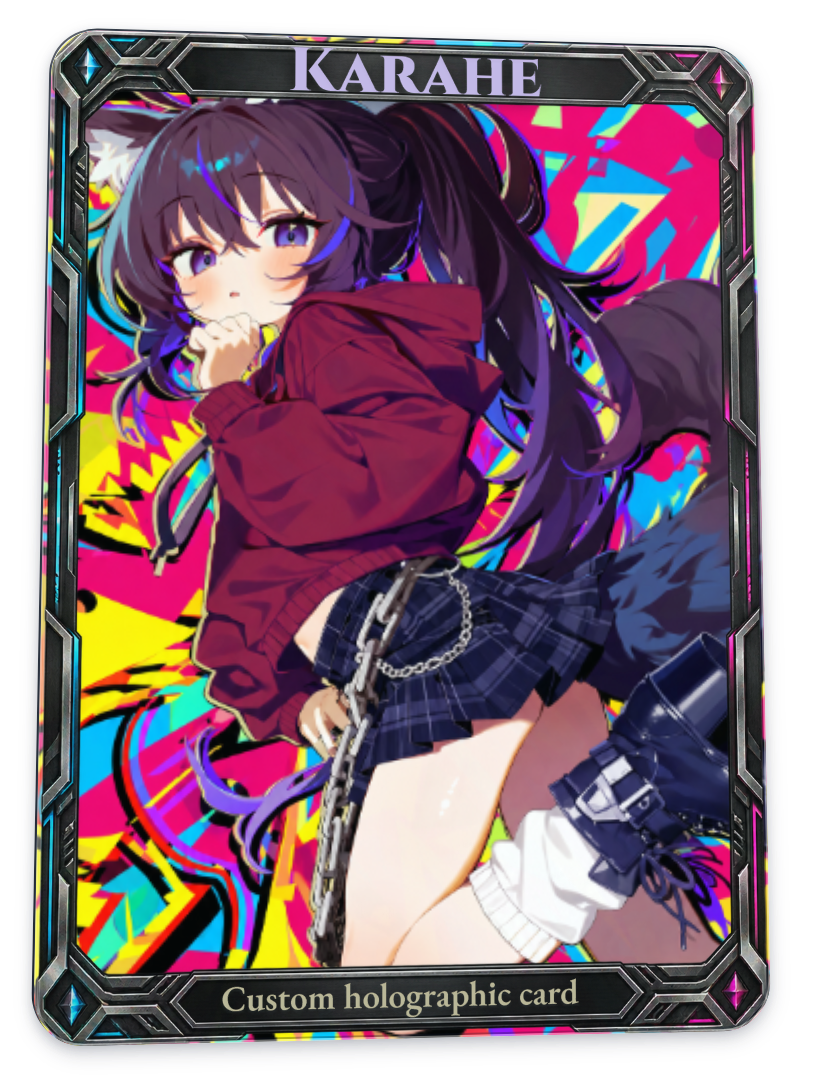
| Before · Daylight, Stored charge 100% | After · Dark room, Stored charge 100% |
|---|---|
 |
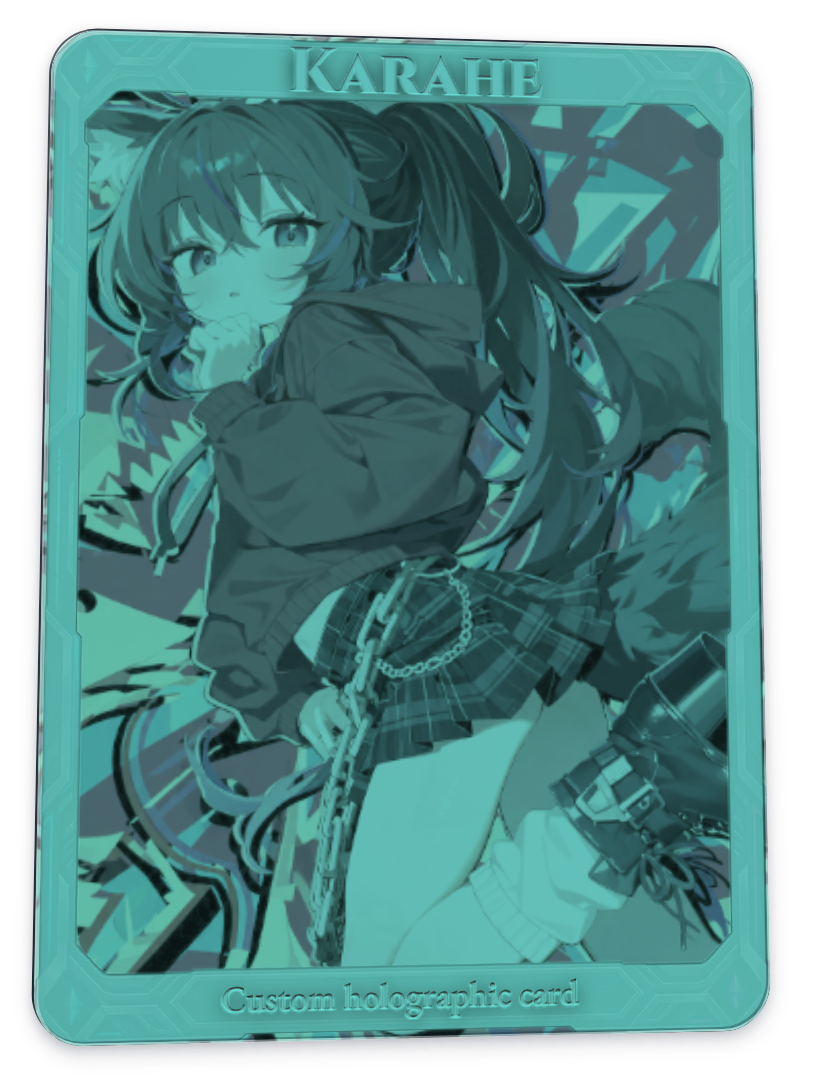 |
Simulates stored light being released in the dark. A strong teal glow appears in this example. Set the state with Stored charge and Elapsed time; there is no need to shine a real light at the screen or wait.
Detailed environment
Expand Detailed environment to see the controls available for the selected ink. Check UV strength for Fluorescent ink, and Darkness, Stored charge, and Elapsed time for Phosphorescent ink. These ink-response controls are disabled for Pearlescent ink and OVI.
UV strength
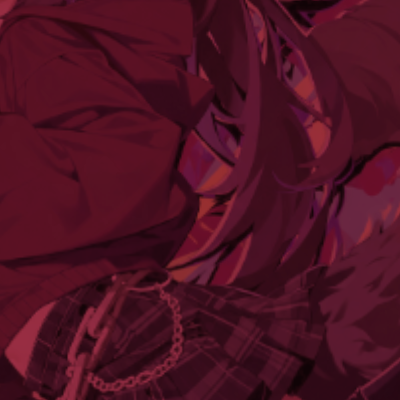
| Before · UV strength 0% | After · UV strength 100% |
|---|---|
 |
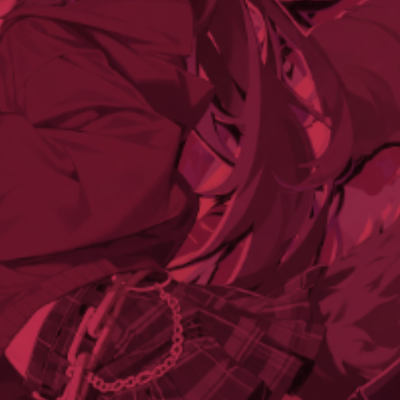 |
Both images use Ultraviolet mode. This mode maintains a minimum UV response, so fluorescence does not disappear completely at 0%. For a comparison without that response, return to Daylight and set UV strength to 0%, or disable the ink.
Stored charge
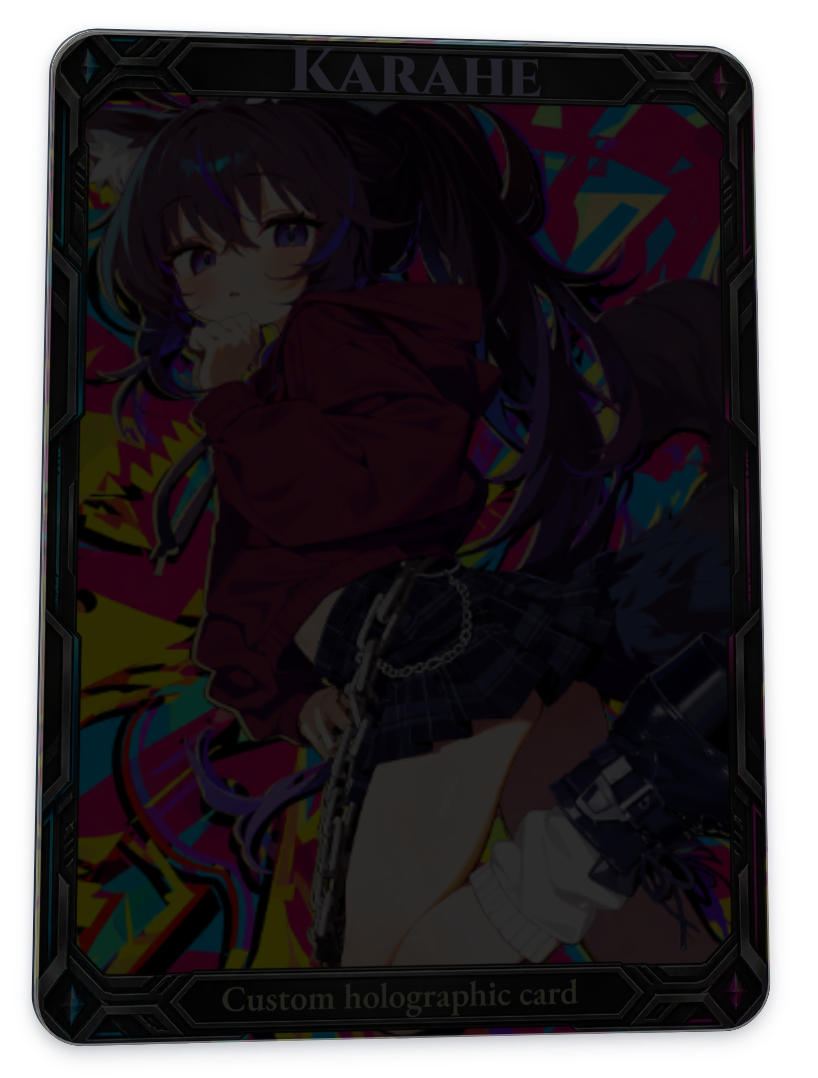
| Before · Stored charge 0% | After · Stored charge 100% |
|---|---|
 |
|
Only Stored charge changes, with Dark room selected and Elapsed time at 0 seconds. Even with Phosphorescent ink selected, a setting with no stored light will not glow strongly.
Elapsed time
| Before · Elapsed time 0 seconds | After · Elapsed time 30 seconds |
|---|---|
|
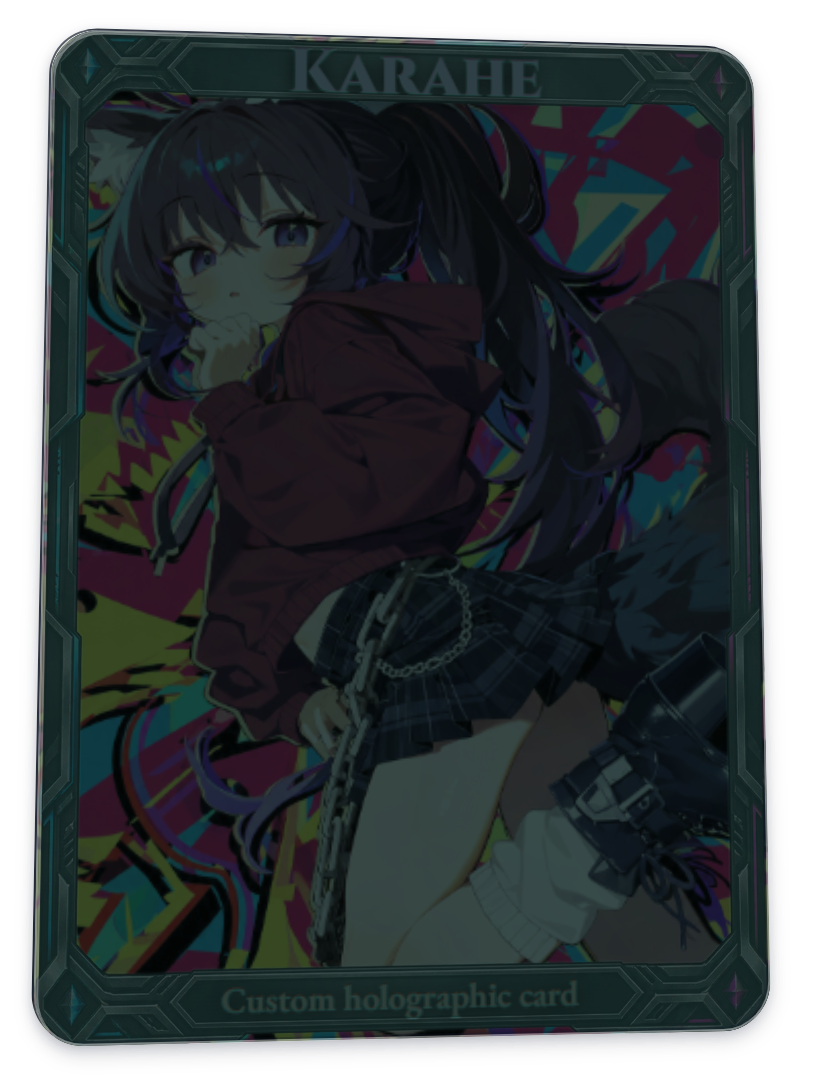 |
At the same Stored charge, selecting a later elapsed time weakens the glow. This value sets the point in time shown by the preview. The right-hand image above was obtained immediately by setting the slider to 30 seconds.
Darkness
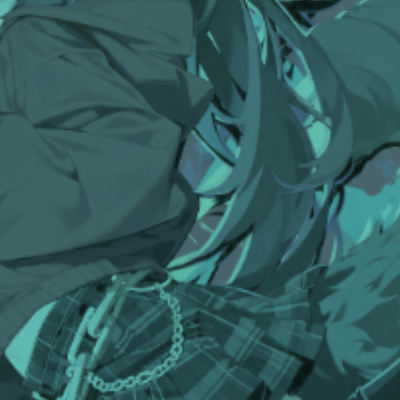
| Before · Darkness 0% | After · Darkness 100% |
|---|---|
 |
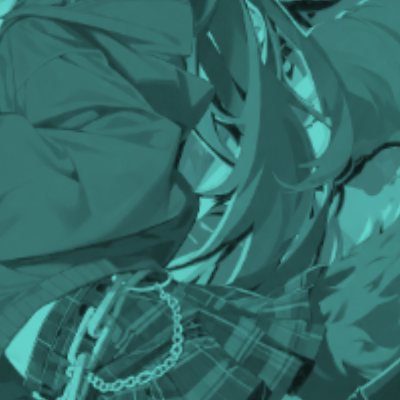 |
Both use Dark room, Stored charge at 100%, and Elapsed time at 0 seconds. Dark room maintains a minimum darkness response, so 0% is not equivalent to Daylight. The difference here is smaller than changing Stored charge from 0% to 100%.
Application areas and strength
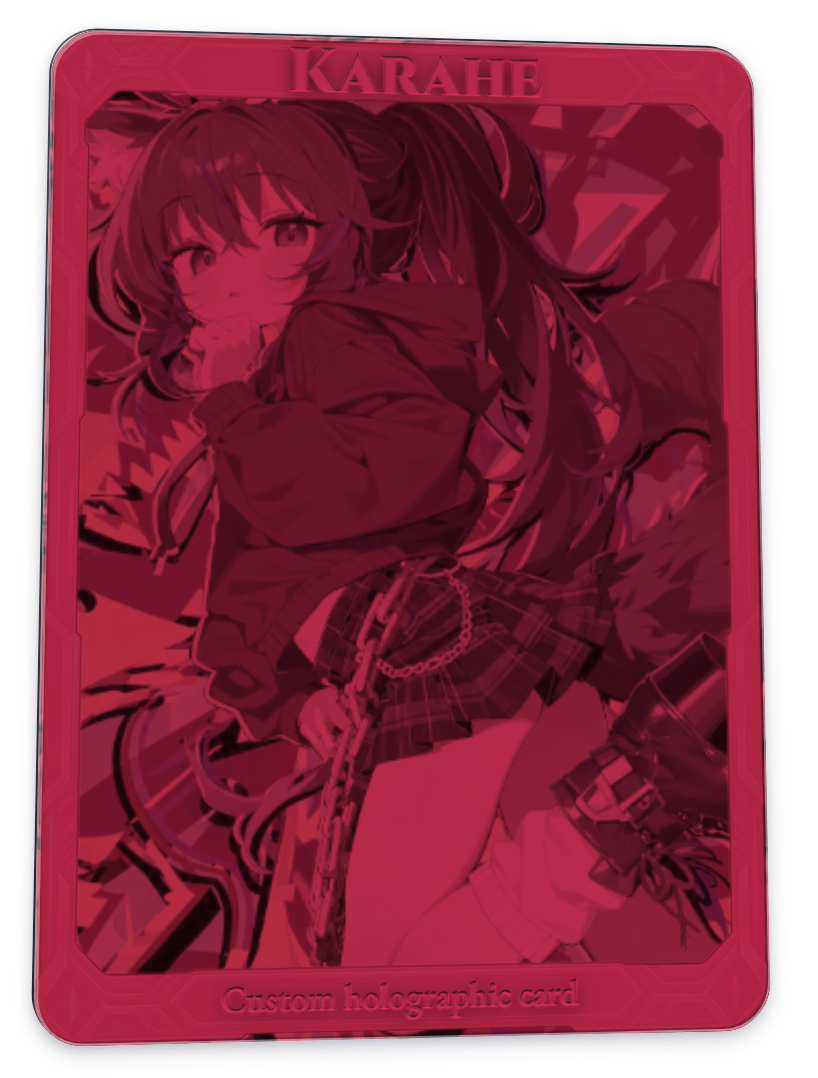
| Before · all four areas | After · Character only |
|---|---|
 |
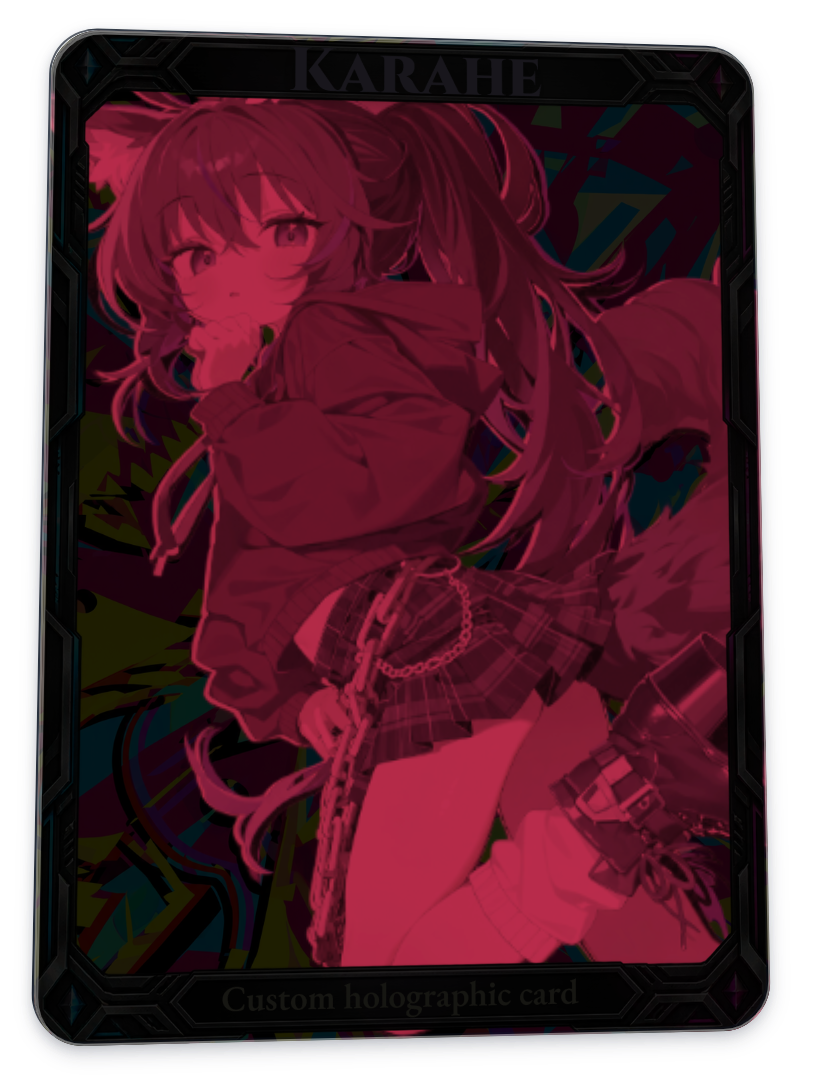 |
Only the application area changes; UV strength and Fluorescent ink strength both stay at 100%. Excluding the background and frame makes the character’s glow easier to distinguish. Unselected areas may still retain darkening caused by the lighting environment.
Strength controls how prominently the ink effect appears. If applying 100% to all areas changes the artwork’s colors too much, lower the strength or narrow the application area. Show areas, which identifies coverage, and View effect only, which shows the material response without artwork, are different functions. Both are for inspection while editing.
How to move the light
Move the card preview in the editor to inspect reflections at different angles. Under View tools, Pointer response determines whether the card responds directly or follows the pointer smoothly. Front-facing light sweep keeps the card facing forward while light sweeps across it.
Playback in View tools and the animation you export are selected separately. For PNG, set the angle or the front-facing light-sweep position under Export. For GIF and WebP, choose Card rotation or the light sweep as the animation to save. The ink’s Elapsed time is separate from the animation’s Total duration.
When changes are hard to see
- Fluorescent or Phosphorescent is missing: check that both character and background files have been uploaded.
- Fluorescent ink looks almost unchanged in Daylight: switch to Ultraviolet and compare it with no ink under the same lighting.
- Phosphorescent ink stays dark: check Dark room, Stored charge, Elapsed time, and the application areas.
- Returning to Daylight does not restore the initial appearance: check for remaining environment values. Selecting a mode does not reset every slider.
- Text and frame change differently from the artwork: differences depend on each area’s original color, transparency, and selected application areas.
This tool provides a digital impression of lighting and ink. Check a print shop’s specifications and samples for actual fluorescent colors, glow duration, and color-shifting performance.
Related guides
Getting started · Print materials · Foil · Surface finishes · Text
AI disclosure
Translated with OpenAI Codex using GPT-6 Astra (xhigh reasoning). Reviewed and edited by Yioo.